
Last updated November 18, 2026
 Hardwood
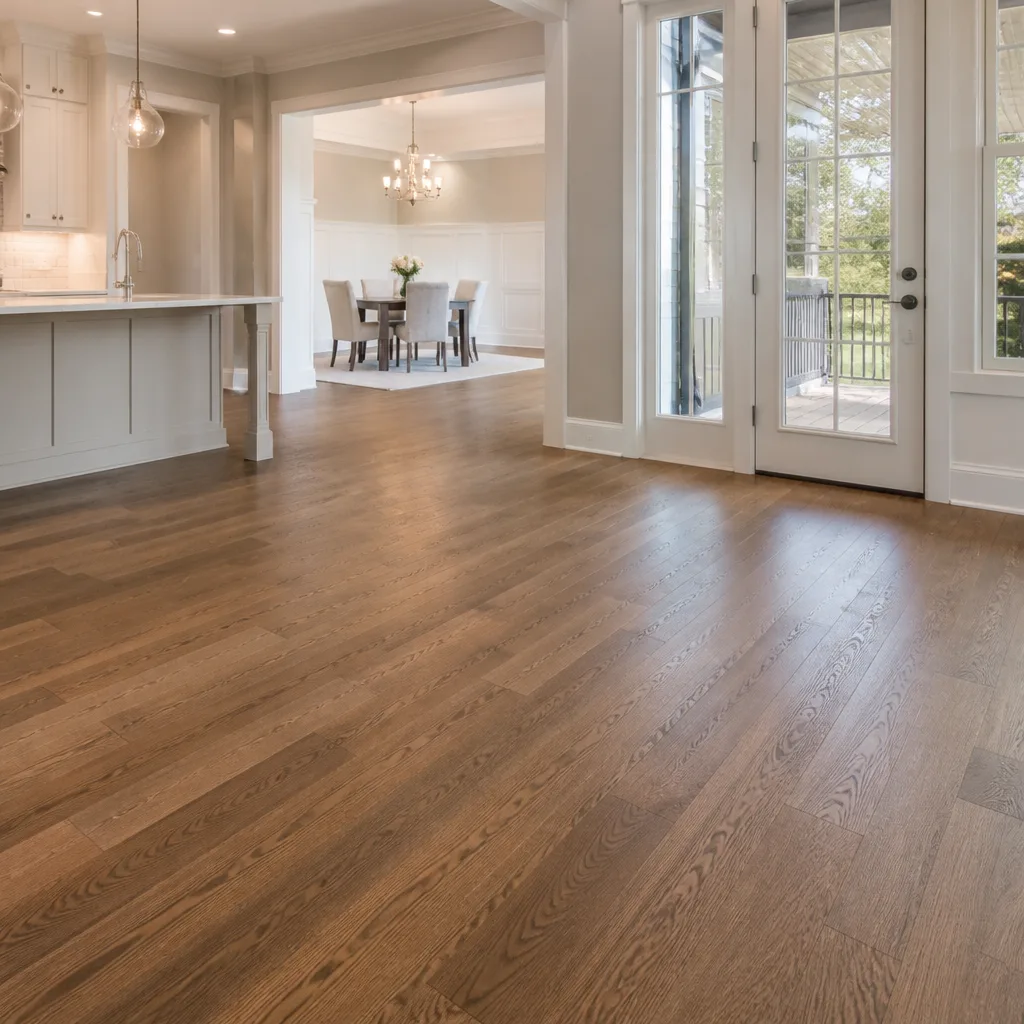 Engineered hardwood
 Luxury vinyl plank
 Laminate
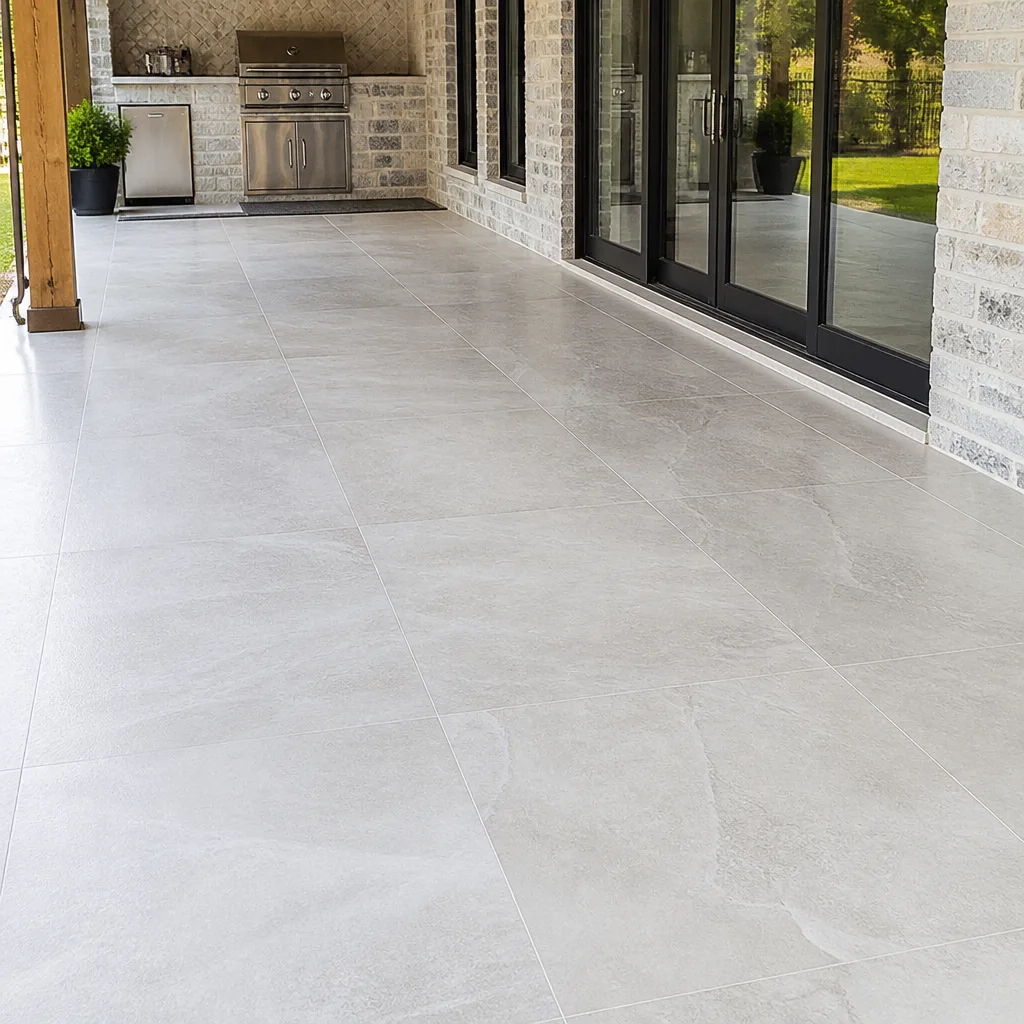 Porcelain tile
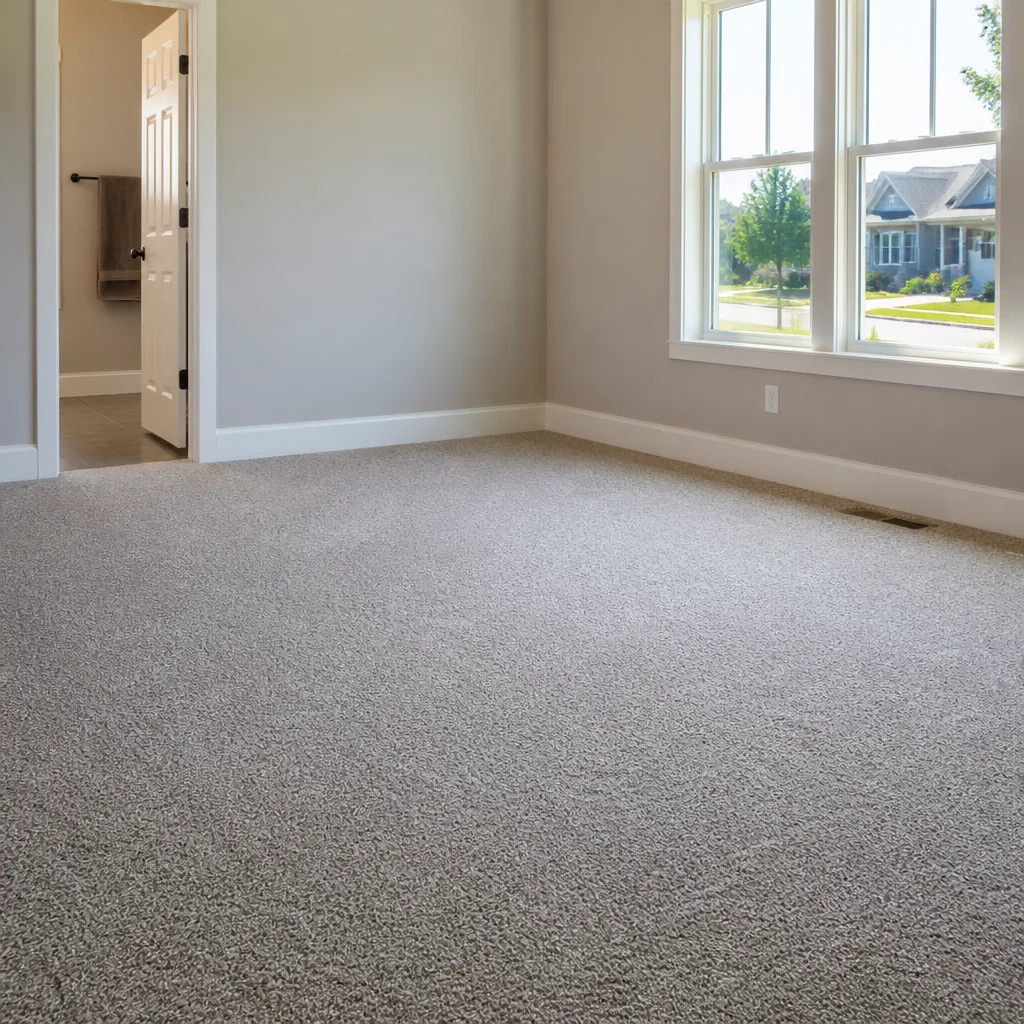 Carpet
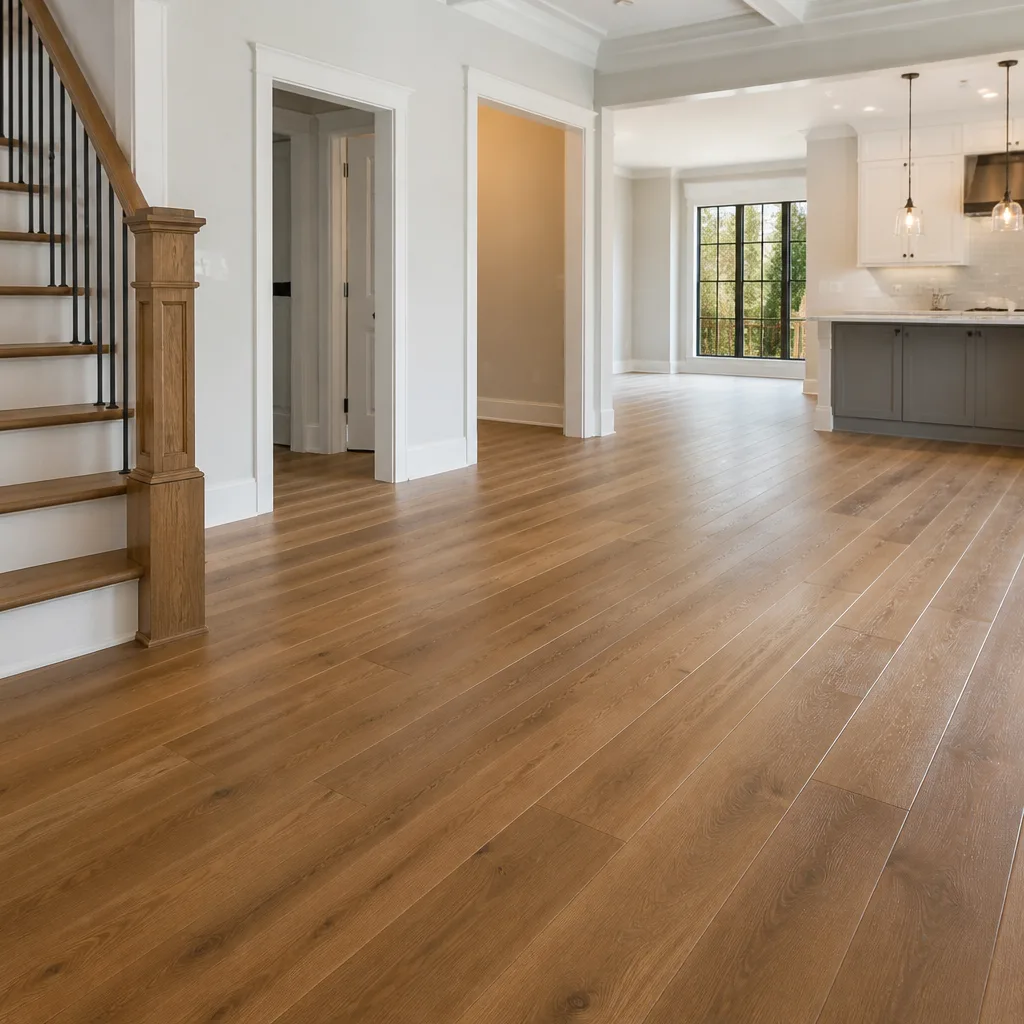 Shaw
 Mohawk
 COREtec
 Pergo
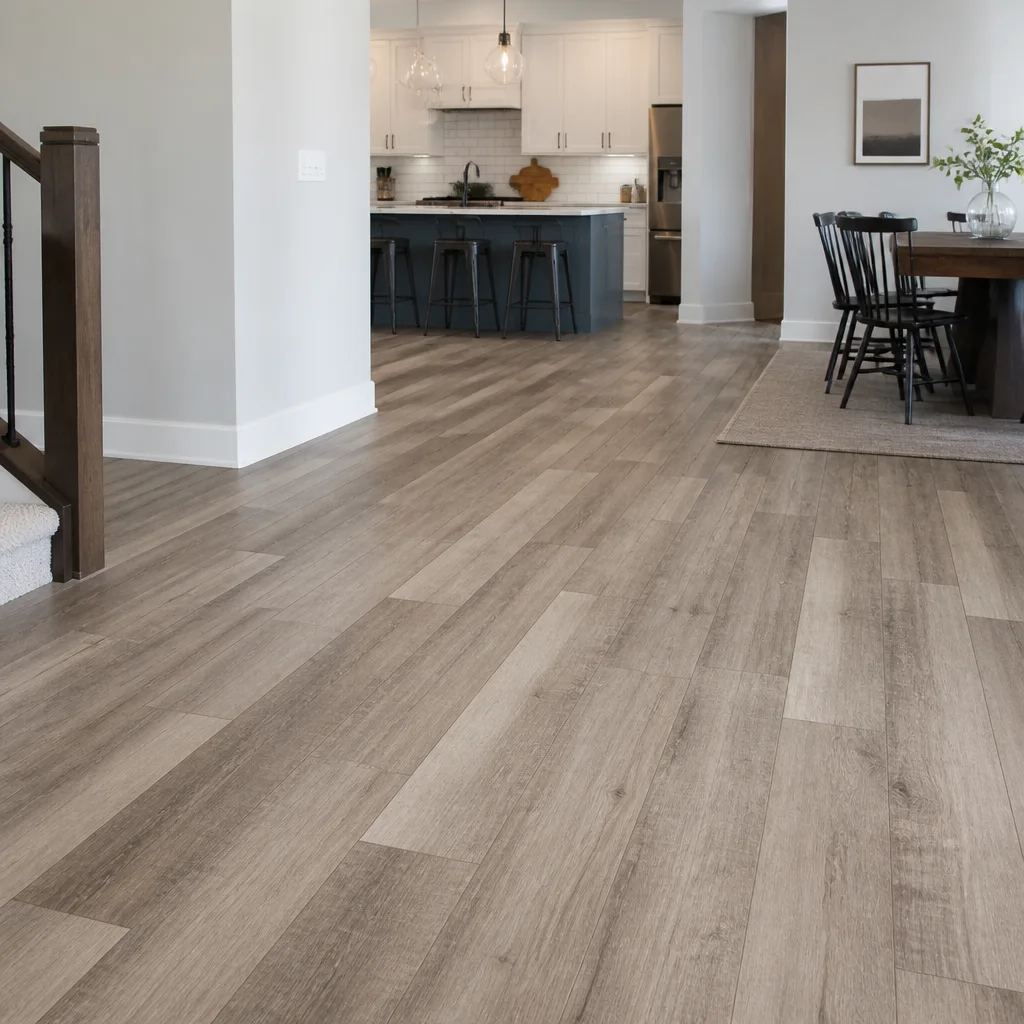
Free in-home measure and written estimate: Shaw, Mohawk, COREtec and Pergo lines compared on your own rooms, with carpet, tile, vinyl plank, laminate and hardwood laid out side by side
Get your free estimateHow to Prepare Your Home for a Flooring Installation in Spring Valley
The most common reason a flooring installation runs over schedule in Spring Valley isn’t the crew or the material. It’s arriving to a room that wasn’t actually ready. When a technician has to stop and move a sectional, pull a refrigerator, or wait while someone clears a closet, that time doesn’t disappear. It eats into the day, and it’s the homeowner paying for it. The fix is almost entirely front-loaded: a few hours of honest prep before install day, done in the right order, keeps the schedule predictable and the written estimate accurate. In this guide we’ll walk through room-by-room clearing, subfloor disclosure, acclimation in a desert climate, HVAC timing, and how to keep pets and kids from disrupting the work.
Quick Answer
To prepare for a flooring installation in Spring Valley, clear the room of furniture, appliances and closet contents, remove old flooring only if your written scope asks for it, disclose any soft spots or water staining you’ve noticed, run your HVAC at normal household temperature for at least 48 hours before install, and plan for pets and kids to be out of the work zone. The single biggest time saver is a room that’s genuinely empty when the crew arrives. Your written estimate should tell you exactly which of these tasks belong to you and which are handled on install day.
Styles & brands we work with
- Hardwood
- Engineered hardwood
- Luxury vinyl plank
- Laminate
- Porcelain tile
- Carpet
- Shaw
- Mohawk
- COREtec
- Pergo
Table of Contents
- Room-by-Room Clearing: What We Handle and What You Should
- Finding and Disclosing Subfloor Damage Before the Crew Does
- Acclimation in a Desert Climate: Why Skipping It Shows
- HVAC and Humidity: The 48-Hour Rule Before Install
- Pets, Kids and Schedules: Keeping the Crew Working
- Material-Specific Prep Notes for Carpet, Tile and Hardwood
- Install Day: What to Expect From Arrival to Walkthrough
- The First Week After Install
Room-by-Room Clearing: What We Handle and What You Should
Furniture and appliance removal is the number one point of confusion on install day. Most homeowners assume the crew handles everything. Most crews assume the homeowner will clear the floor first. The written estimate is where that gets settled, and the more of it you can do yourself, the more install time gets spent on flooring instead of lifting a sofa. Here’s how it typically breaks down.
What the crew handles
- Moving items that are explicitly listed in the written scope – typically large pieces where the homeowner can’t safely lift them alone
- Pulling and setting the toilet in a bathroom install, which is standard scope for tile and vinyl work
- Removing and hauling away old flooring if that line appears in your estimate
- Moving flooring materials into the room and staging them for install
What homeowners should handle
- Every item in closets, cupboards, bookshelves and drawers in and adjacent to the work room
- Wall art, mirrors, mounted TVs and anything hanging that could get knocked
- Electronics, lamps, plants and small décor
- Disconnecting the refrigerator’s water line if it needs to move; reaching behind a gas appliance is a licensed-plumber task, not something to improvise
- Anything fragile or personally valuable, which should leave the room entirely
The general rule we share with homeowners in Spring Valley: if you can lift it alone, take it out. If you can’t, note it in writing before the estimate visit so the crew schedules it in. The Spring Valley housing mix includes a lot of single-story ranches and two-story newer builds, and both share the same bottleneck at install time: a bedroom full of furniture that has to clear before the first board goes down. Walk the room a week ahead and make a list.
Finding and Disclosing Subfloor Damage Before the Crew Does
The subfloor is what everything sits on, and it’s the most expensive thing to discover in the middle of a job. A soft spot under a bathroom threshold, a darkened patch near a sink, a tile that flexes underfoot – these are signs that the material under your floor may need repair before any new product goes down. Identifying them ahead of time lets the estimate account for it and keeps the schedule realistic.
Signs worth a closer look
- Floors that bounce or flex when you walk across them
- Visible water staining, warping or darkening at seams and edges
- A musty smell near a bathroom, laundry room or under a sink
- Tiles that have popped, cracked at the grout lines or sound hollow when tapped
- Old sheet vinyl or carpet edges that are curling or lifting
If you spot any of these, tell us before the estimate visit and again before install day. Repair isn’t always a big job – often it’s a small area of decking or a section of underlayment – but if the crew finds it unexpectedly, no one has a saw, extra plywood or a plan in place for it, and the schedule slides. Older homes around Spring Valley, particularly in established neighborhoods near the community center and along the older corridors, sometimes conceal decades of previous floor layers underfoot. That’s normal. The important thing is that the estimate reflects what’s actually there. If you’ve ever had a water heater leak, a slow sink drip or a swamp cooler overflow, mention it.
Safety note: don’t cut open a subfloor yourself to “check” it, and don’t pull up glued hardwood or adhesive-set tile to inspect beneath. Old flooring adhesives and underlying materials can be tricky to handle safely. Let a trained professional look at it during the estimate or on install day.
Acclimation in a Desert Climate: Why Skipping It Shows
Acclimation means letting flooring sit in the room where it will be installed long enough to settle into that room’s temperature and humidity. Skip it and you get visible failures: gapping between planks in dry months, buckling at seams when the season flips, or a carpet that never quite lays flat because it was pulled tight in a different climate than the one it settles into. In Spring Valley, where humidity can swing hard between a cool winter and a 110-degree summer afternoon, this is not a step to rush.
Here’s what matters most: the right acclimation time depends entirely on the product. A solid hardwood needs the longest window. Engineered hardwood and the luxury vinyl lines are usually shorter. Carpet and tile have different considerations – carpet rolls need time to relax, and tile almost always needs specific conditions for the hours it’s being worked. We never quote a generic acclimation window because it would be wrong half the time. What we do instead is tell you what your specific product requires in writing, at the estimate visit, based on the manufacturer’s instructions and its moisture considerations.
What you do about it
- Confirm with us when your material will be delivered, and where it should be stacked
- Set the room’s HVAC to its normal operating temperature and leave it
- Keep windows and doors closed during the acclimation window – don’t try to “air it out” in mid-summer
- Keep the room clear so material can lay flat without furniture weight on top
- Don’t unwrap boxes to “spread it out” unless we tell you to; product instructions vary
If you’re considering hardwood, this same room-by-room humidity awareness matters at refinishing time too. Boards that are settled in their normal environment sand and finish more predictably than boards that were exposed to a sudden dry snap.
HVAC and Humidity: The 48-Hour Rule Before Install
Run your HVAC at its normal household temperature for at least 48 hours before install day, and keep it running during install and for a few days after. That’s the standard we set with homeowners in Spring Valley, and it applies across every floor type we install. Why? Because flooring expands and contracts with temperature and humidity, and if the home is at 62 degrees during a cool January install and then swings to 78 by February, every seam and grout line takes the stress.
The desert climate makes this less about moisture and more about temperature swings. Spring Valley summers push past 110 at the outdoor thermometer, and the indoor temperature is entirely on your HVAC. Two things matter:
- Set the thermostat to the temperature you’d actually live at. Not the “we’ll fix it after” setting.
- Keep it steady through install and for the first week. Don’t turn it down while the flooring cures or settles.
If your HVAC is being serviced, replaced or offline during install week, tell us at the estimate. In that case we adjust the schedule rather than guess. Likewise, if you’re adding a humidifier or whole-home humidification as part of a renovation, the timing matters – get it running before install, not after. The final decision on how long your specific product needs is set by the product instructions and your written estimate, but 48 hours minimum is the baseline we plan from.
Pets, Kids and Schedules: Keeping the Crew Working
A crew that can work continuously finishes on schedule. A crew that has to stop every 20 minutes for a curious dog, a gate that isn’t latched, or a school pickup can have its day eaten in increments. None of that is a reflection on your household – it’s just the reality of a job site in an occupied home. Here’s how to plan ahead.
Pets
- Plan for pets to be out of the work zone for the full install day, ideally out of the home.
- If they’re staying in, close them in a room at the far end of the house with water, food and a bed.
- Open flooring boxes, adhesive buckets and tools are curiosities; keep pets off the work area.
- If your pet is anxious with unfamiliar people or noise, arrange for boarding or a sitter during the install.
- Post a note on the front door so anyone in the household remembers not to open the work room door.
Kids
- Clear the work room of toys and small items the night before.
- Set a clear boundary – a baby gate across the hallway or a closed door – that kids understand.
- Schedule install day on a school day if you can, and have a plan for after-school pickup.
- Keep them off newly finished surfaces until we tell you it’s ready for traffic; this depends on the product.
Your own schedule
Plan to be home or reachable by phone for at least the first half of install day. There are usually one or two quick decisions during the job – a small repair nobody saw coming, a transition piece that needs a call – and it’s easier to make them when you’re available. If you work away from home in Spring Valley, make sure the crew has permission to access the property and a working phone number for the day.
Material-Specific Prep Notes for Carpet, Tile and Hardwood
The prep work is similar across floor types, but each one has a few extras. Here’s what to think about per material as you get ready.
Carpet
- Empty closets and pull everything off shelves; the crew needs full access to the perimeter.
- Remove old carpet tack strips if they’re in the way – or confirm the estimate covers removal.
- Vacuum the existing floor if there’s hard flooring underneath; dust makes for a poor tack-down.
- Consider the transition thresholds at doorways – those small scope items are set at the estimate.
For a full walkthrough of how carpet installation is scoped and priced, call us. Carpet, tile and hardwood all belong to the same conversation when we quote your project.
Tile
- Plan to be out of the bathroom or kitchen for the full install day; tile work is not a same-day-use project.
- Confirm whether grout lines and layout have been chosen – that call should be made before install, not on the day.
- Expect dust; move or cover nearby furniture in adjacent rooms and close interior doors.
- Look at the floor carefully for any flex or hollow sound before install. Tile on a flexing substrate cracks.
Our tile flooring installation work is scoped per room, and a proper estimate includes the subfloor assessment that prevents the cracked-tile callback. If you’re comparing tile options, brands like Daltile sit in the professional-grade category and cover a broad range of finishes and sizes.
Hardwood
- If you’re refinishing existing hardwood, empty the room completely – furniture, rugs, everything.
- Close adjacent doors and cover vents and doorways with plastic sheeting if dust will be an issue.
- Expect the floor to be offline for a period during and after the finish; the product instructions and the estimate set the timeline.
- If refinishing is on the table, know that not every floor can be refinished – it depends on the thickness of the wood and its condition, which we check at the estimate.
Restoring your existing hardwood is often the smarter choice before you replace it, and it’s a service we handle in-house. A brand like Shaw gives you options if you’re going new; a refinished floor gives you the wood you already have.
Install Day: What to Expect From Arrival to Walkthrough
Here’s the general shape of install day at a home in Spring Valley. Specifics depend on the material and the room, but the flow is consistent.
- Arrival and walk-through. The crew confirms the room is ready, checks for anything unexpected, and confirms the plan.
- Protection and staging. They lay down protection for adjacent floors, doorways and stairs, and stage materials.
- Removal. Old flooring comes up if it’s in scope. Debris gets hauled away the same day.
- Subfloor check and prep. Any soft spots, flex or debris get addressed before new material goes down.
- Install. Carpet is stretched and trimmed; tile is laid, spaced and grouted; hardwood is set, sanded and finished.
- Cleanup. Tools, offcut material and packaging are removed from the work room.
- Walkthrough. The crew walks the finished floor with you, points out any considerations, and confirms what to expect in the first week.
Plan for one room at a time. Trying to run two installs on the same day – even in the same house – is the classic way to make both late. When you’re ready to talk through your project room-by-room, our team at Spring Valley Floors can walk you through options for carpet, tile and hardwood refinishing without pushing you toward a single answer.
The First Week After Install
What you do in the first week determines how the floor looks in year five. A few habits matter across all materials.
- Keep the HVAC running steady. Same rule as install: normal household temperature, no big swings.
- Keep the room ventilated if the product calls for it. New finishes and adhesives sometimes need airflow; follow the product instructions and any direction in the estimate.
- Wait for the go-ahead before heavy furniture. Putting a solid oak dresser on a newly finished floor too soon can leave marks that don’t come out. The crew will tell you when it’s safe.
- Protect the floor at entry points. A doormat at the point where shoes come off extends the floor’s life in any home, but especially in the dusty dry months.
- Address spills promptly. Water-resistant products like luxury vinyl handle household moisture, but standing water and moisture from below still have to be dealt with. Wipe up spills, and don’t leave a slow sink drip undiagnosed.
- Watch for seasonal movement. Small gaps at seams in a dry snap are normal for some products; a call to us can confirm if it’s within spec or worth another look.
Common Mistakes to Avoid
- Leaving furniture in the workroom. A crew that has to move a sectional before the first board goes down burns time you’re paying for. Empty the room the night before install day.
- Waiting until the crew arrives to mention subfloor issues. That soft spot near the bathroom threshold is a conversation to have at the estimate, not the moment a saw needs to come out. Say it early.
- Skipping acclimation because “it’s just vinyl.” Every plank and roll needs the room’s climate to settle. Rushing acclimation is a top cause of visible failures in a swing-heavy climate like Spring Valley’s.
- Turning off the HVAC to “save money during install.” Keep the home at normal operating temperature, steady, through install and the first week after.
- Not confirming scope in writing. Toilet removal, appliance moving, haul-away and transition pieces should be explicit lines in the written estimate. If you’re unsure, ask before you sign.
- Letting pets roam the work zone. An open bucket of adhesive and a curious dog don’t mix. Plan for pets to be out of the home during install.
- Scheduling a service call in the same week as a big install. HVAC tune-ups, appliance deliveries and flooring installs sit better in separate weeks. Pack the calendar too tight and something will slide.
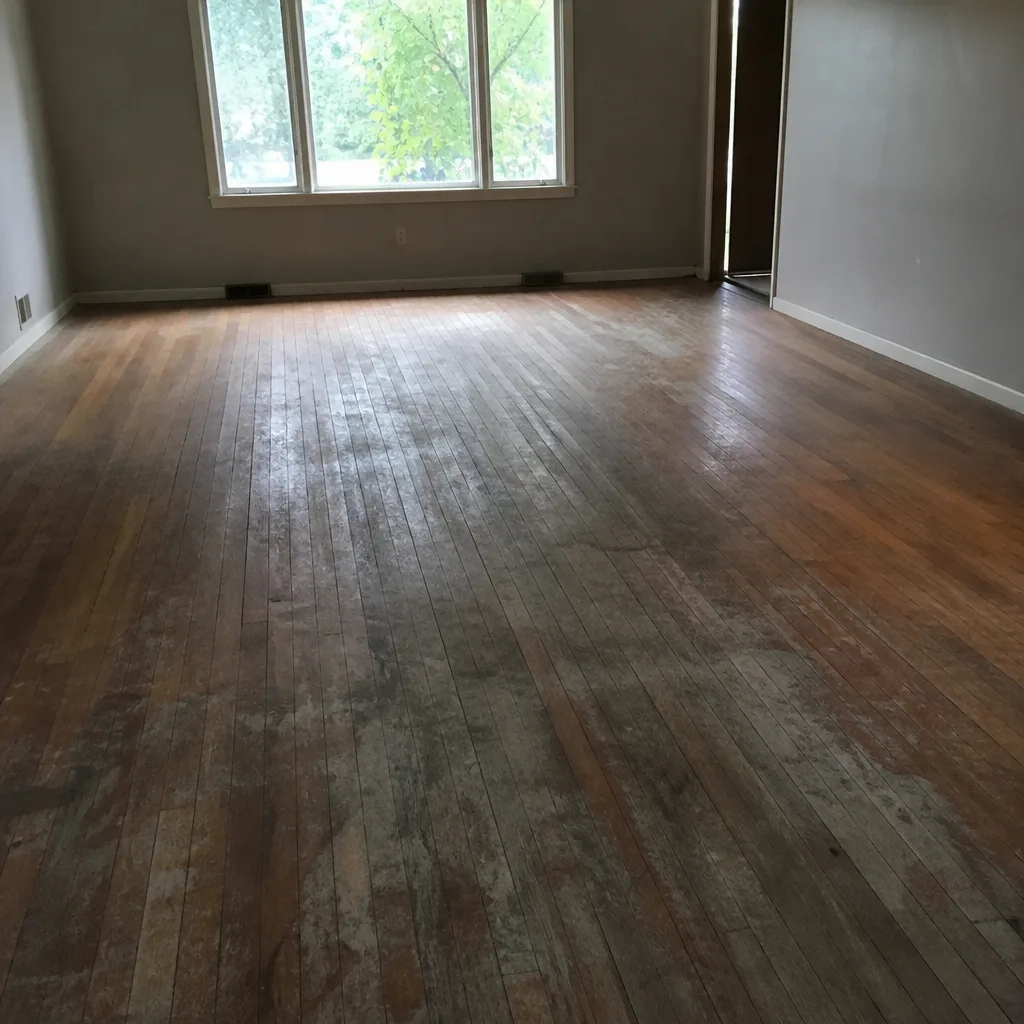
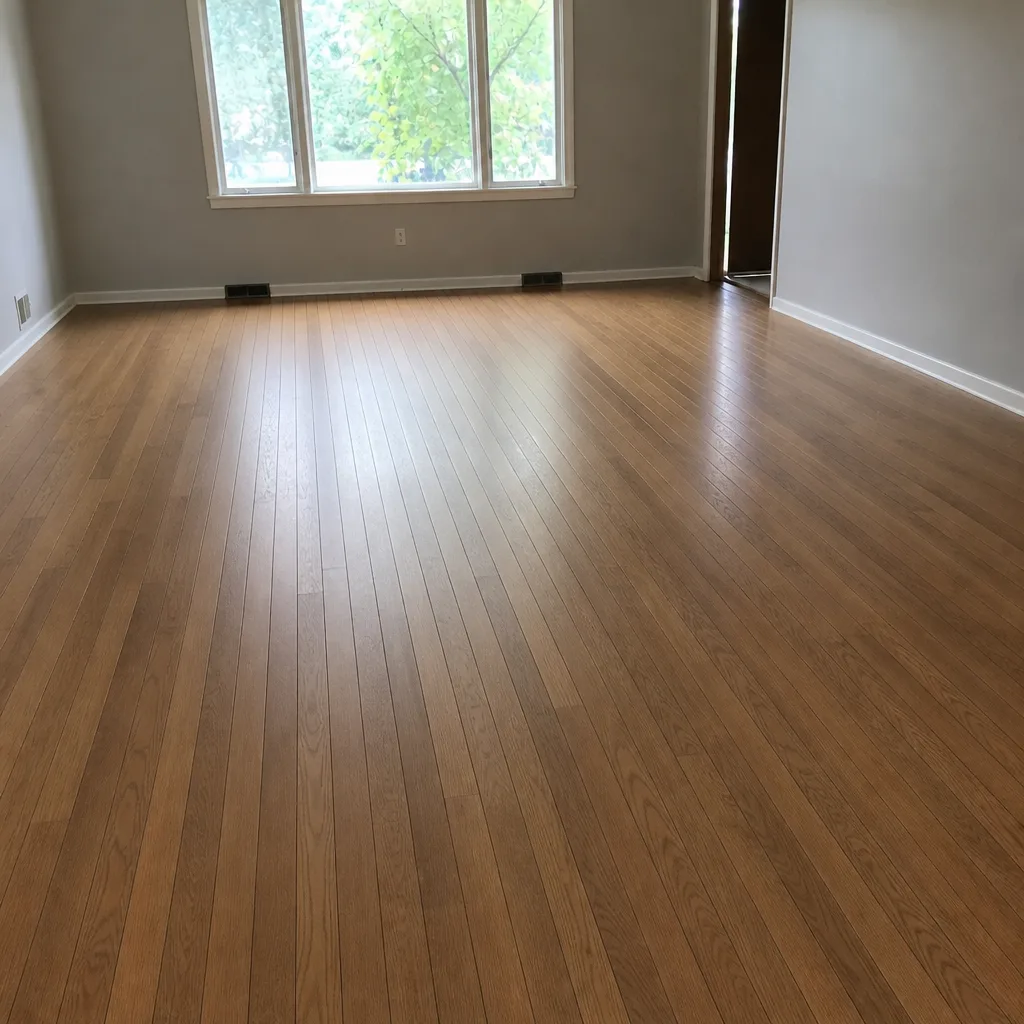
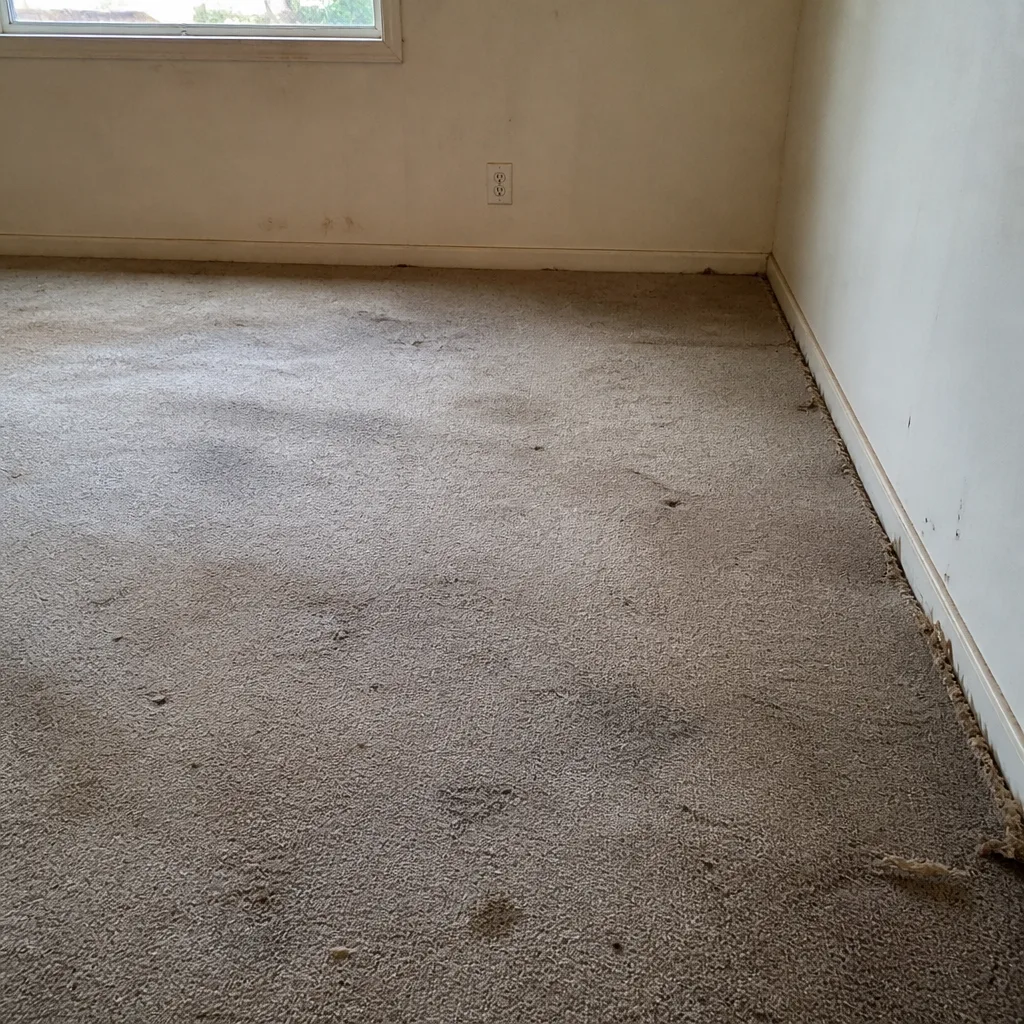
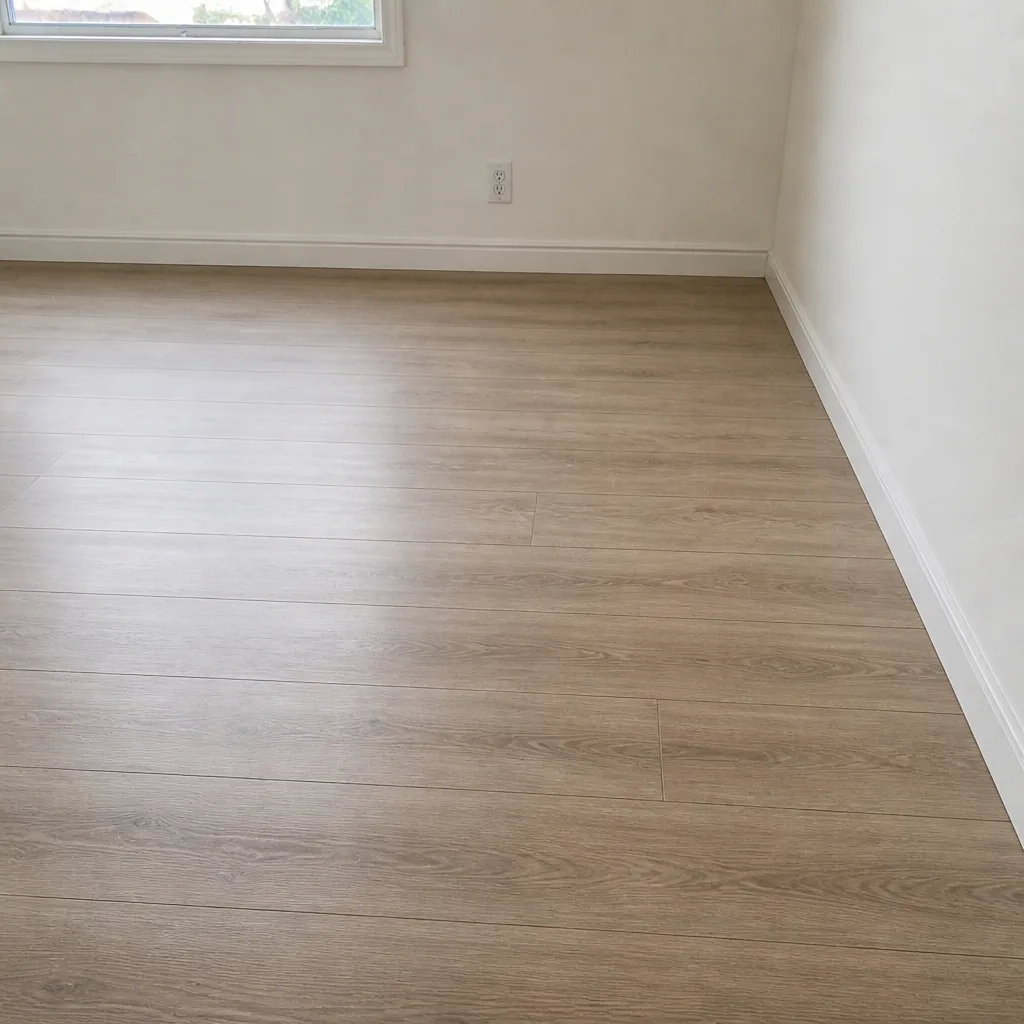
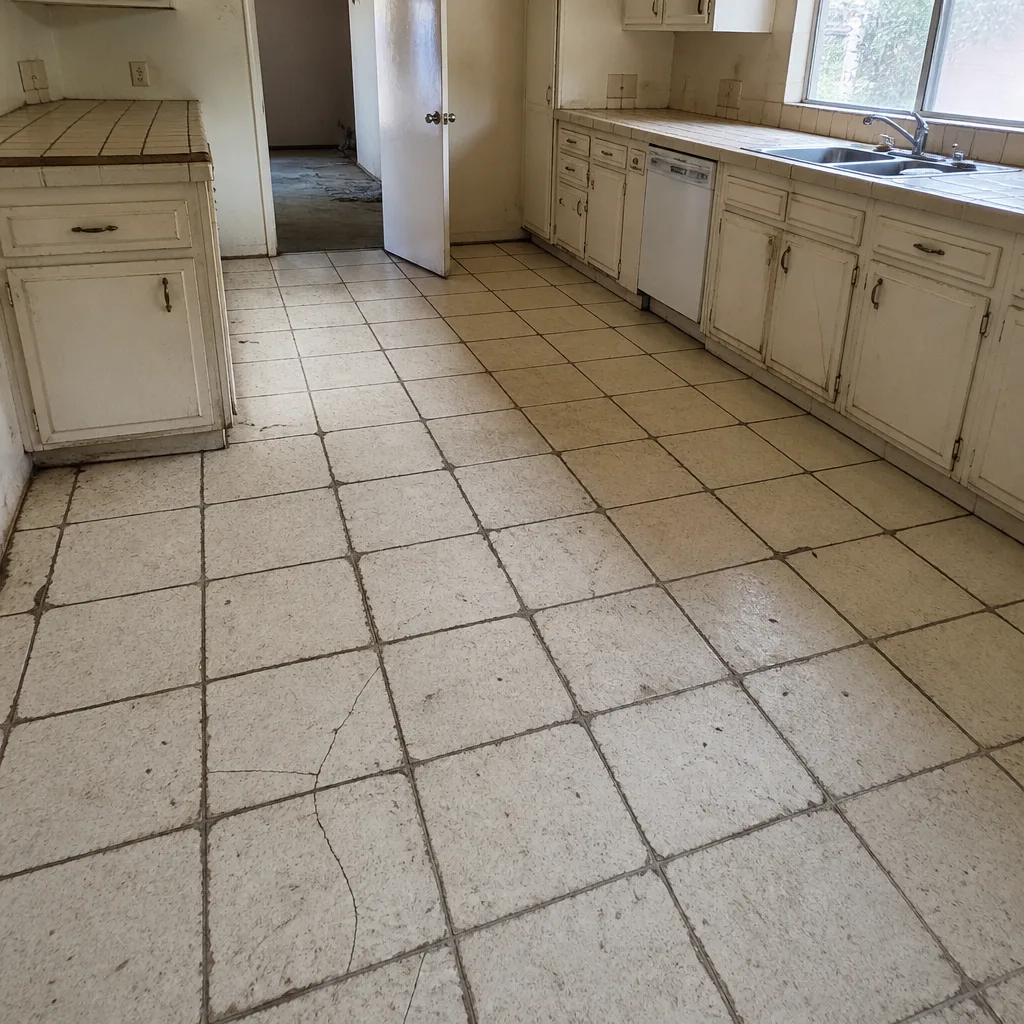
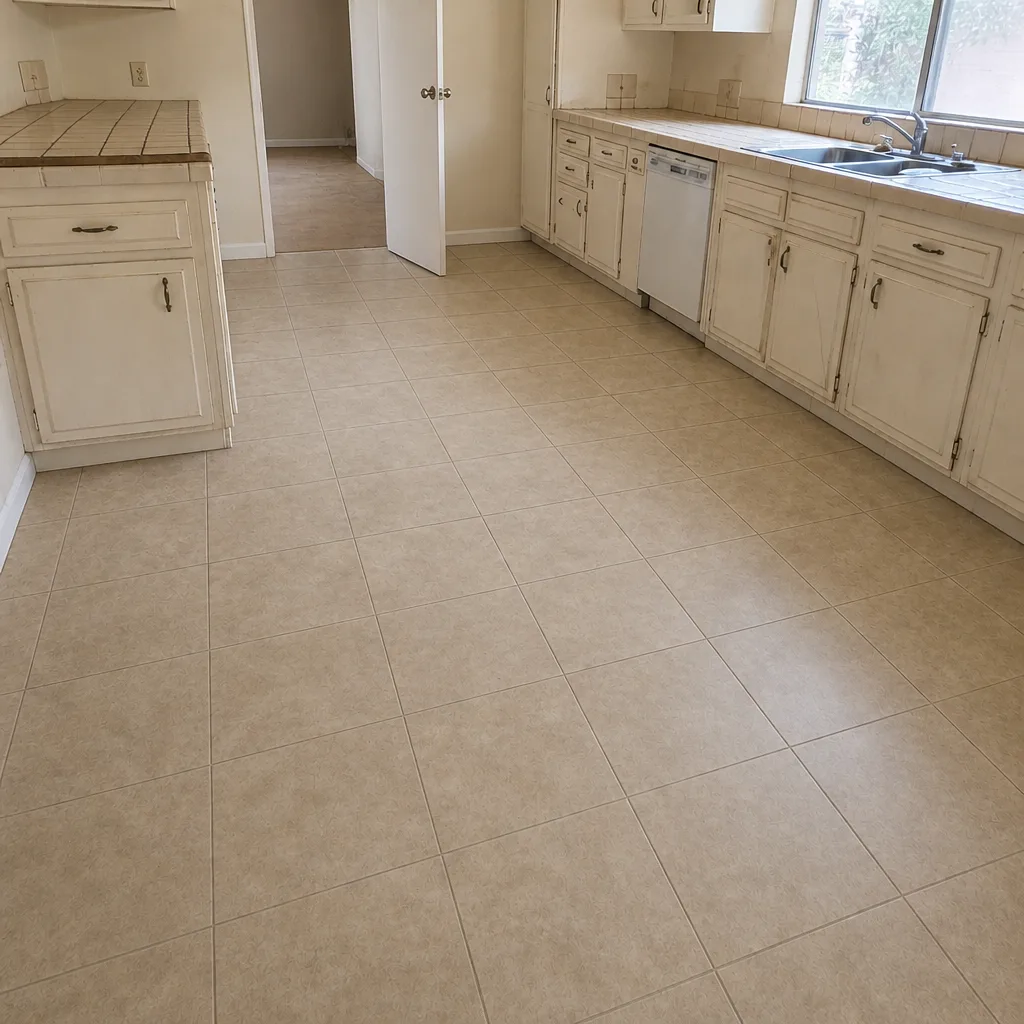
See the difference
 Before
 After
 Before
 After
 Before
 After
When to Call a Professional
Some prep work is a homeowner task. A few things genuinely need a trained professional, and we want to be clear about which. Anything involving subfloor repair, moisture or water damage, structural flex underfoot, or pulling up glued flooring should be handled by a flooring professional, not a weekend project. Electrical work to disconnect and reconnect hardwired fixtures, gas appliance disconnection, and anything involving a plumbing line – such as a refrigerator water hookup or a toilet removal – belongs to the right licensed trade. If you’re refinishing hardwood, the sanding and finishing process involves dust, solvents and machinery, and it’s not a good candidate for a first-time DIY attempt. And if you’re genuinely unsure whether your existing subfloor is sound, that’s a question for someone who does this every week. Spring Valley Floors offers free estimates in Spring Valley – call (833) 734-5027 to schedule an in-home measure and written quote.
Frequently Asked Questions
Yes, plan to have the room empty of furniture, appliances and closet contents before the crew arrives, unless specific items are listed in the written estimate as handled by us. The more the room is cleared, the more install time goes to flooring instead of moving furniture. Call (833) 734-5027 for an exact quote and to confirm what’s in scope – estimates are free.
It depends on the material, the room and the subfloor conditions, and there is no reliable single answer across projects. The schedule is set at the estimate visit and confirmed in your written quote. Call (833) 734-5027 to schedule your free in-home measure and get a realistic timeline for your space.
Because temperature swings between seasons in Spring Valley are hard on flooring that wasn’t settled in the room before install. Skipped acclimation shows up as gapping at seams, buckling, or a floor that never quite lays flat. How long your specific product needs is set by the manufacturer’s instructions and your written estimate. Call (833) 734-5027 to schedule your free estimate.
Sometimes, if the estimate says removal isn’t in scope and the flooring is a type you can safely remove. But glued hardwood, tile set in adhesive, and anything with visible moisture staining should be handled by a professional. Improper removal can damage the subfloor and add cost. Call (833) 734-5027 to confirm what removal covers in your quote.
Only the appliances explicitly named in the written estimate. Gas, water and electrical connections need the appropriate licensed trade, and that shouldn’t be improvised. If the estimate doesn’t say, ask before you sign. Call (833) 734-5027 to walk through the appliance list on your project – estimates are free.
Tell us right away. Subfloor damage is better handled before the crew arrives than discovered mid-job, and we can reschedule and revise the estimate to account for it. A trained professional should assess the extent before you assume it’s minor. Call (833) 734-5027 to schedule your free estimate or to update your existing one.
The Bottom Line
Preparation is the part of the project you control, and it’s the part that keeps install day on schedule and the estimate honest. Empty the room, disclose subfloor issues early, plan for acclimation in a climate where the swing between seasons is real, run the HVAC at normal temperature for at least 48 hours before install, and keep pets and kids clear of the work zone. Nine brands – including Shaw, Daltile and Karndean – one specialist, and one honest estimate beats a house full of guesses. On the day, your written estimate is the final word on price. Call (833) 734-5027 to schedule your free estimate.
If you’re not sure where to start with your Spring Valley home, our team can walk through options for carpet, tile and hardwood refinishing in one visit. Call (833) 734-5027. We answer 24/7. Fast dispatch from 7am to 7pm, Sunday through Friday.
Written by the team at Spring Valley Floors.