
Last updated November 18, 2026
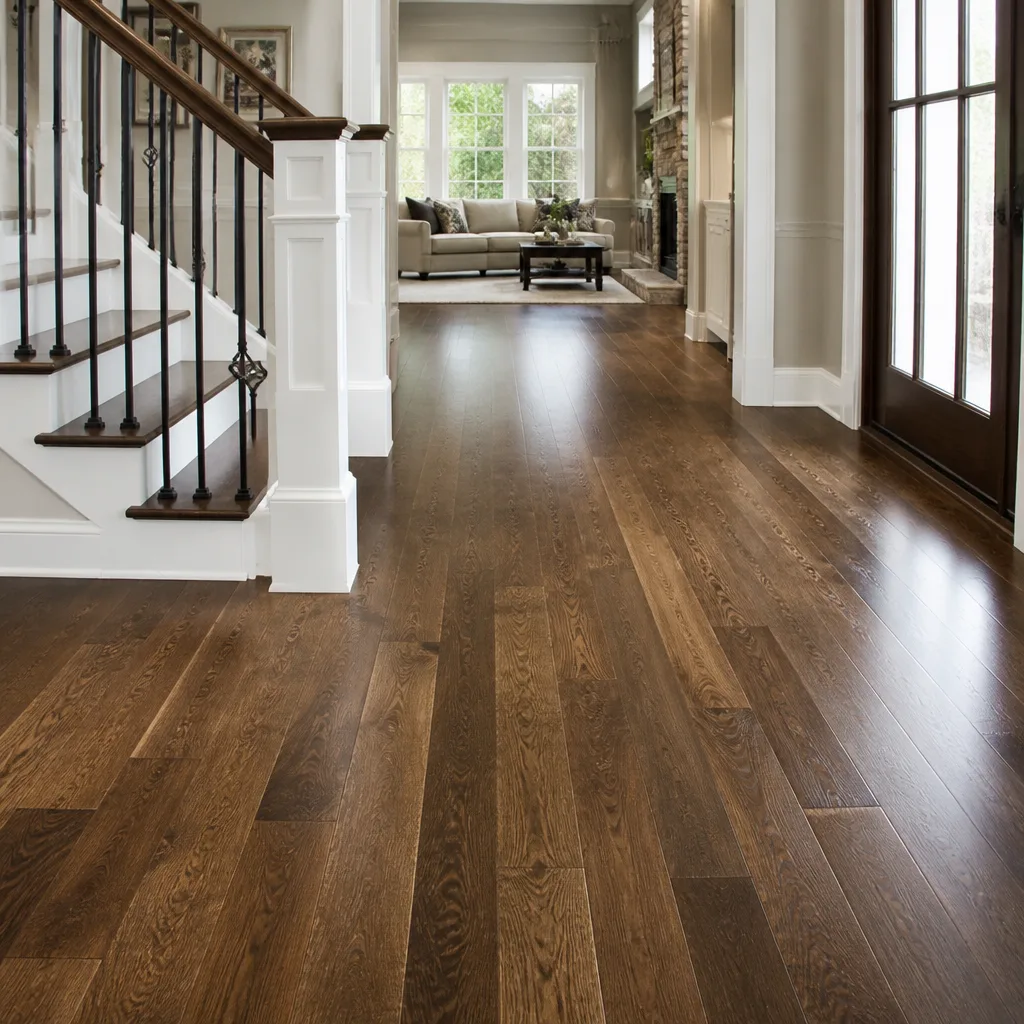 Hardwood
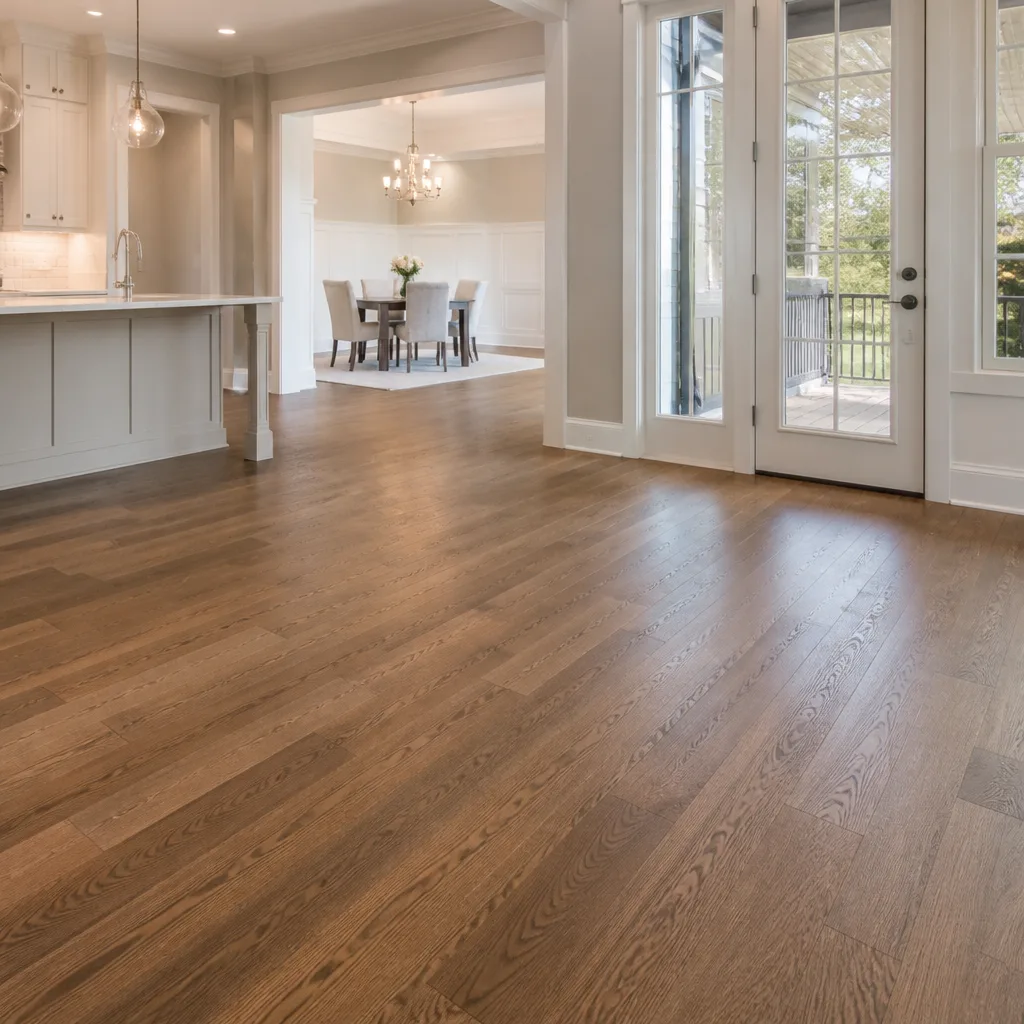 Engineered hardwood
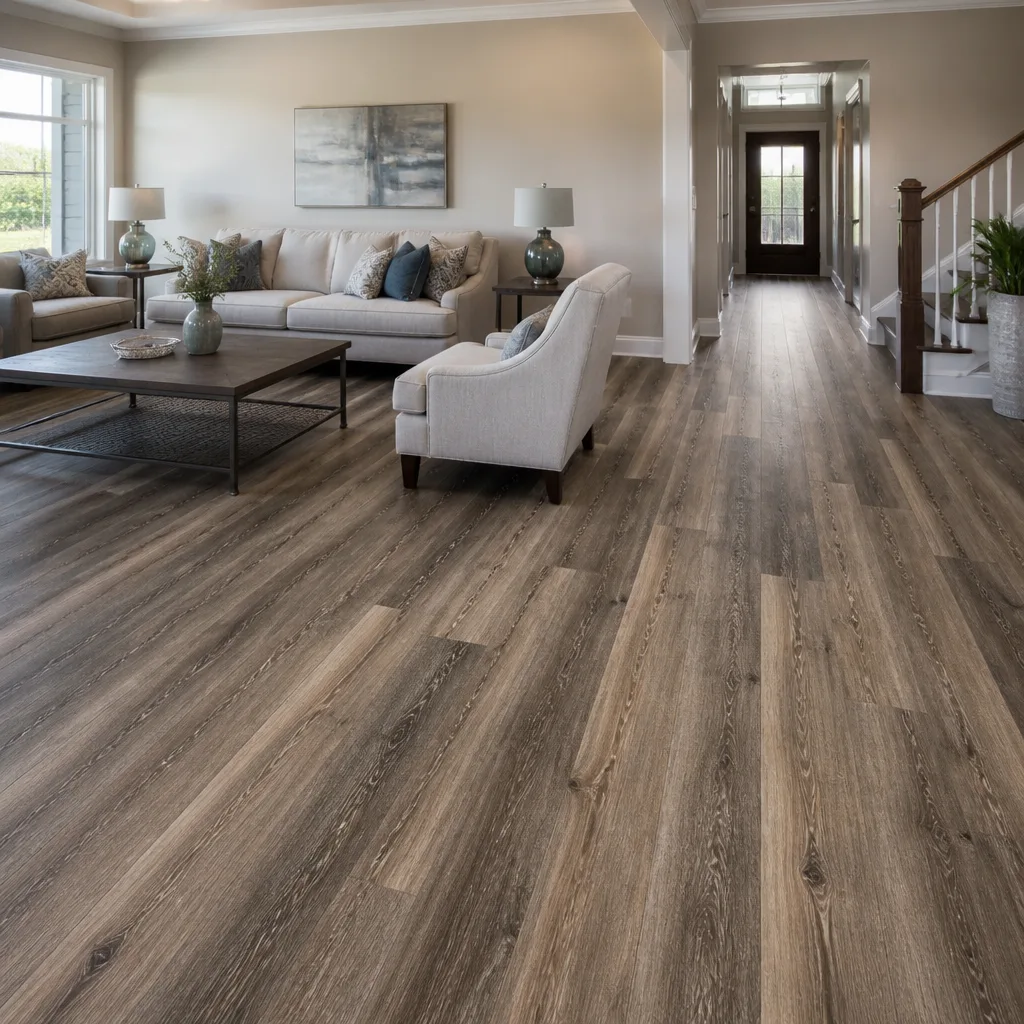 Luxury vinyl plank
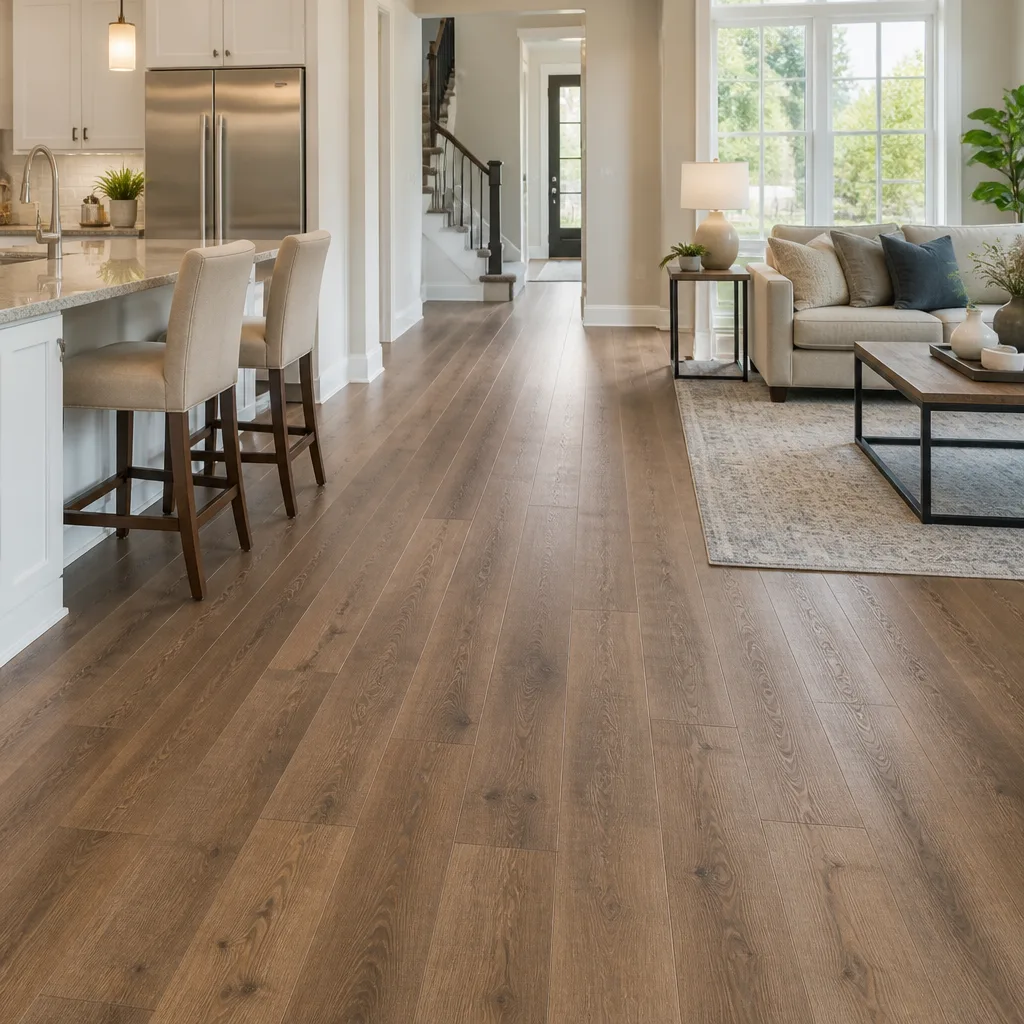 Laminate
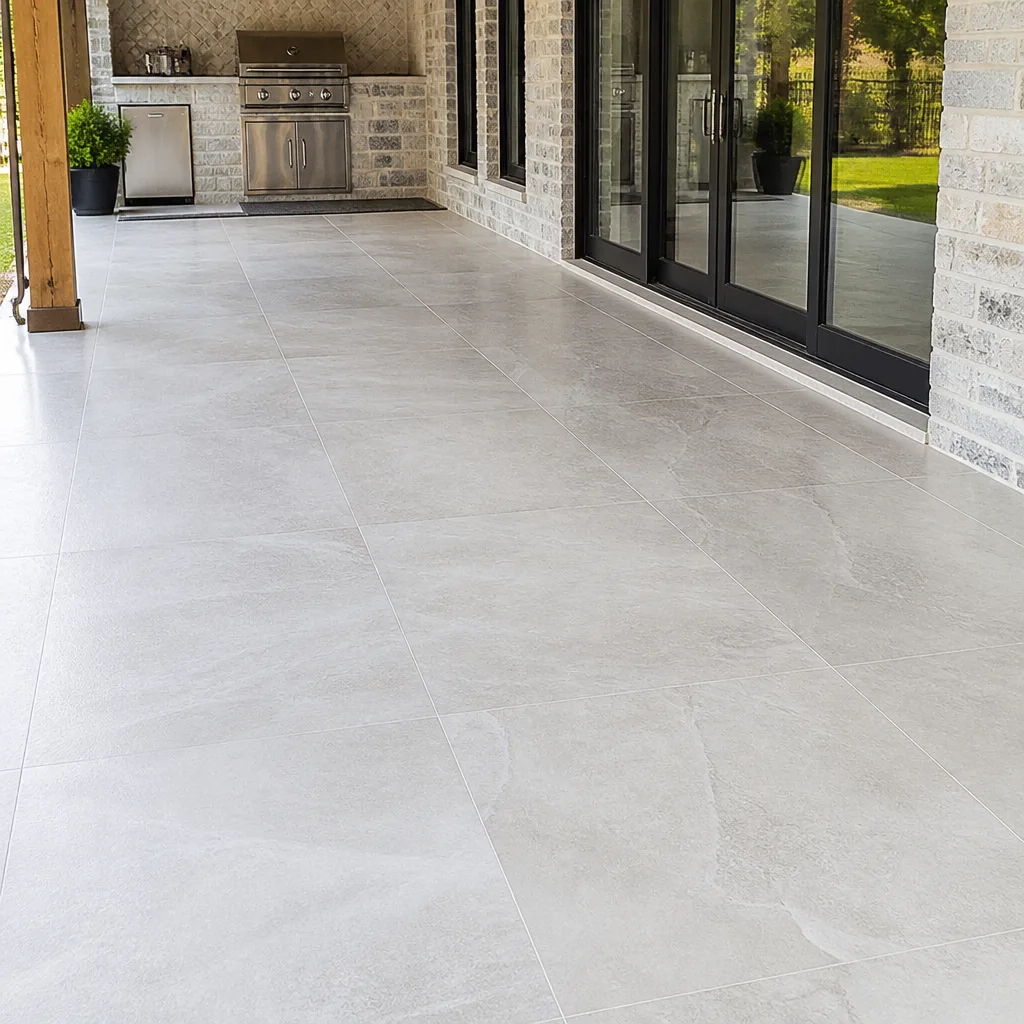 Porcelain tile
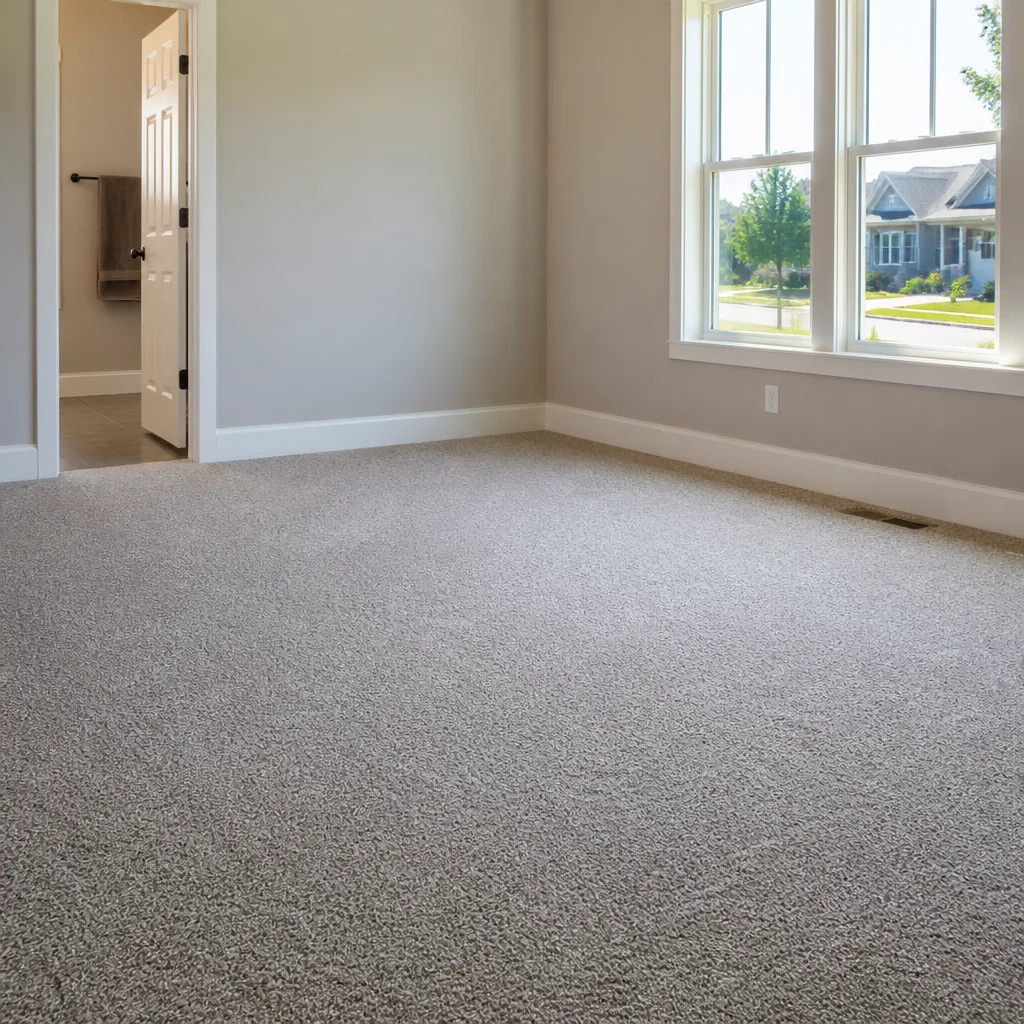 Carpet
 Shaw
 Mohawk
 COREtec
 Pergo
Free in-home measure and written estimate: Shaw, Mohawk, COREtec and Pergo lines compared on your own rooms, with carpet, tile, vinyl plank, laminate and hardwood laid out side by side
Get your free estimateSubfloors Explained: What Sits Under Your New Floor
A floor that’s wavy, squeaky, or separating at the seams within a year almost never failed because of the flooring itself. It failed because of what was under it. In our experience across Spring Valley, we’ve seen beautiful new floors ruined by a subfloor nobody checked first: a slab that wasn’t flat, moisture that was never tested, old adhesive that was never scraped. The subfloor is the single biggest variable in whether your new floor looks and performs the way you expect, and it’s the thing most homeowners never actually see assessed. This guide walks you through what a subfloor is, the difference between concrete and wood subfloors, why flatness matters so much, and how prep costs get built into a real estimate. You’ll finish knowing what to ask before you buy a single plank.
Quick Answer
A subfloor is the structural surface beneath your finished flooring. It’s either a concrete slab or a wood-based panel system over joists, and every flooring product has requirements for how flat and dry it must be before installation. In Spring Valley, where concrete slab construction dominates, proper slab prep – flattening, moisture testing, and removing old adhesive – is the difference between a floor that lasts and one that fails. The written estimate should always include that prep, not treat it as a surprise add-on.
Styles & brands we work with
- Hardwood
- Engineered hardwood
- Luxury vinyl plank
- Laminate
- Porcelain tile
- Carpet
- Shaw
- Mohawk
- COREtec
- Pergo
Table of Contents
- What Is a Subfloor, Exactly?
- Concrete Slab vs. Plywood: Why It Changes Everything
- Flatness Tolerance: The 3/16-Inch Rule That Decides Your Floor
- Self-Leveling Compounds: When They’re Needed and What They Cost
- Moisture Vapor From Concrete Slabs in Spring Valley
- Old Adhesive, Existing Tile, and Glue-Down Residue
- How Subfloor Prep Fits Into Your Written Estimate
- Matching the Subfloor to the Floor You Want
What Is a Subfloor, Exactly?
The subfloor is the layer directly beneath your finished floor, and it does two jobs: it carries the load of everything above it, and it provides the flat, stable base your flooring product needs to perform. It is not the same as an underlayment. An underlayment is a thin layer that goes on top of the subfloor, just below the finished floor, and its job is specific to the product being installed – a moisture barrier, a sound cushion, a smoothing skin. The subfloor is structural. The underlayment is product-specific. Confusing the two is one of the most common reasons a homeowner and an installer end up talking past each other.
In Spring Valley and much of the surrounding area, subfloors fall into two broad families:
- Concrete slab. A poured concrete surface, typical of homes built directly on grade. No crawl space, no joists. The concrete itself is the subfloor.
- Wood-based subfloor. Plywood or oriented strand board panels laid over floor joists, usually over a crawl space or a framed upper floor.
Some homes have a mix. A single-story home may be slab in the main living areas and wood-framed over a garage. Second floors are almost always wood-based. That mix matters because the prep for each is different, and the flooring you can safely install on one may not be the flooring you can safely install on the other. If you don’t know which type you have, that’s the first thing any honest estimate should establish. Ask to see it. Anyone quoting you on a floor without looking at what’s underneath is quoting half a job.
Concrete Slab vs. Plywood: Why It Changes Everything
Concrete and wood subfloors behave differently, and that difference drives nearly every decision about which flooring products are compatible with your home. Concrete is stable in shape but absorbs and releases moisture from below, and it can’t be nailed into. Wood is lighter, can have small deflections across joists, and expands and contracts with humidity. Neither is better. They simply ask different things of the installer and of the flooring product.
Concrete Slab
Concrete is the dominant subfloor in Spring Valley, especially in homes without a crawl space. On a slab, you’re dealing with:
- Flatness that has to be brought to tolerance before certain floors go down.
- Moisture vapor moving up through the slab, which must be measured and mitigated.
- No ability to fasten with nails or staples, so glue-down or floating installations are the norm for many products.
- Older adhesive, cured thinset, or previous glue-down flooring that needs removal before anything new goes in.
Wood-Based Subfloor
Wood subfloors need to be checked for structural integrity as well as flatness. A sagging panel, a soft spot, or a squeak across the joists is a sign of movement that has to be addressed before installation. Wood subfloors can also harbor moisture issues from below, so a moisture test matters here too. And there’s a product-compatibility angle: solid hardwood typically needs a wood-based subfloor because it’s fastened through to the structure. On concrete, solid hardwood is usually out, and engineered hardwood or another product becomes the practical route. If you’re weighing options, the Spring Valley Floors lineup covers carpet, tile, luxury vinyl, and hardwood so the product conversation gets matched to your subfloor rather than the other way around.
The practical upshot: the subfloor type narrows the field before price or style ever enters the conversation. Get that established first.
Flatness Tolerance: The 3/16-Inch Rule That Decides Your Floor
Flatness tolerance means how much variation in height a subfloor can have across a given distance and still be acceptable for a specific flooring product. The number most commonly referenced in installation guidance is 3/16 of an inch over any 10-foot span. That’s roughly 4.7 millimeters across three meters – small enough that you will never feel it by hand, and large enough to cause real problems for certain products.
Here’s why it matters in practice, product by product:
- Luxury vinyl plank (LVP) and rigid-core products. These are usually floating installations, which means the floor rests on the surface without being fastened down. Any hump or dip creates a hollow spot where the plank rocks, and locking systems depend on a flat plane to hold together. A dip in the middle of a room can cause end joints to open over time.
- Tile. Rigid and unforgiving. A high spot creates an unstable bed under a tile, and a low spot means the mortar has to be built up thicker than it should be. Either can lead to cracks, hollow spots, or lippage between adjacent tiles.
- Carpet. The most forgiving of the group. Carpet and its cushion absorb small variations. But even carpet has limits, and severe dips or humps will telegraph through.
- Hardwood. Flooring boards are straight, and a wavy subfloor will show through as a wavy floor. Flatness matters as much as moisture here.
Flattening a subfloor is not the same as leveling it. A floor can be perfectly level in the sense of being horizontal, but still have high and low spots that fail tolerance. The measure that matters is flatness across a span, and it can only be checked with a straightedge or a laser at the site. Nobody can tell you whether your slab is in tolerance over the phone. That check is part of any estimate worth trusting.
Self-Leveling Compounds: When They’re Needed and What They Cost
Self-leveling compound is a pour-and-spread material used to bring a concrete or wood subfloor into tolerance. It’s not a cure for everything, and it’s not needed on every job. When it is needed, it should be priced into the original estimate – not tacked on the day of installation after the floor has already been ordered.
In general, here’s when self-leveling comes up:
- The slab has a low area or a high spot beyond tolerance. Grinding down a high spot or filling a low one is the standard fix.
- The floor going down is a rigid or floating product – LVP, engineered hardwood, or tile – where tolerance is tightest. Carpet often avoids the need.
- Old adhesive or cured thinset residue can’t be brought fully flat by scraping alone, so a skim coat or self-leveler bridges the surface.
- The surface needs to be dense and uniform for the adhesive, especially on glue-down luxury vinyl.
What does it cost? Prep costs vary widely because they depend on square footage, the depth of the low areas, whether grinding is also needed, and whether old flooring has to come up first. We give a written estimate per job after seeing the actual slab. We haven’t quoted you a number on this page because we won’t guess at yours – the written estimate sets the final price, and it’s free. What we will say is this: when a quote comes in suspiciously low compared with other estimates for the same product, the missing item is often prep. Ask specifically whether flattening, moisture mitigation, and removal of old adhesive are included. If the answer is vague, that’s your answer.
Moisture Vapor From Concrete Slabs in Spring Valley
Concrete is porous, and moisture moves through it from the ground below in the form of vapor. That vapor doesn’t care that your concrete looks dry to the touch. It rises continuously, and when a floor is installed over it without a barrier, that vapor has nowhere to go. Over time it can cause a floor to cup, lift, or fail at the seams. Moisture vapor transmission is the term for it, and testing for it is not optional on a slab.
How installers test and mitigate it:
- Test the slab before installation. The two standard approaches are a calcium chloride test (measures moisture vapor emission rate) and an in-situ relative humidity probe test (measures moisture inside the slab itself). A professional installer will use one or both, depending on the flooring product’s requirements.
- Check for visible signs. Efflorescence (white powdery deposits), dark patches, or bubbling paint on the slab are red flags. So is any history of moisture under the existing floor.
- Mitigate with a moisture barrier. Options range from a liquid-applied moisture-mitigating coating to a sheet or membrane system, depending on the reading and the product going down.
- Confirm the product is compatible with the reading. Some luxury vinyl products install over slabs with certain moisture readings without a barrier, others require one. The product instructions and the installer set the rule.
Spring Valley sits in a desert valley climate, which some homeowners read as “dry, so moisture isn’t an issue.” But slab moisture comes from below grade, not from the air, so the local climate doesn’t remove the need for testing. What it does do is change how the home behaves – the dry air means interior wood products can dry and shrink, which puts more demand on the subfloor to hold flat. Both matter.
Old Adhesive, Existing Tile, and Glue-Down Residue
Most subfloor prep conversations in older Spring Valley homes end up here. What’s already on the slab or under the old floor often decides whether prep stays simple or becomes a real job.
- Old adhesive. Glue-down carpet, vinyl, or hardwood leaves adhesive residue behind. Some adhesives scrape off easily; others are hard and require grinding or chemical softening. If the plan is a glue-down floor, the old adhesive has to be removed or encapsulated, because a new adhesive won’t bond to a compromised surface. Ask specifically how old adhesive will be handled.
- Existing tile. Tile can sometimes be encapsulated and built over, and sometimes it has to come up entirely. Whether that’s safe depends on how well the tile is bonded, and whether the added height will interfere with doors, thresholds, and other floors. Do not assume tile will simply be left in place.
- Glue-down residue. A thin film of glue left over from a previous floating floor’s underlayment, or from a flooring installation removed years ago, can affect adhesion and flatness. It’s easy to overlook and it’s exactly the kind of thing that gets missed when a quote is given without a site visit.
- Existing underlayment. A foam or rubber underlayment from the previous floor must come up before the subfloor is assessed. It’s not part of the structure and it has no place under the next floor.
Each of those conditions changes both cost and timeline. Removing tile or grinding adhesive takes time that a simple reset does not, and a written estimate should say so. If you’re putting carpet down over the same slab, the situation may be far more forgiving. If you’re putting down a glue-down plank floor, it won’t be. That’s the “your floor, your call” moment – knowing what each option actually asks of your subfloor lets you decide with open eyes.
How Subfloor Prep Fits Into Your Written Estimate
A free in-home measure and estimate is the only way to get a real number for prep, because the subfloor has to be seen, tested, and measured before anyone knows what it needs. Here’s how that visit should go in a well-run process – whether you hire us or anyone else:
- Identify the subfloor type and condition. Slab or wood, and what’s on it. Existing flooring, adhesive, tile, or underlayment removed or noted.
- Check flatness. A straightedge or laser across the floor, room by room. The result determines whether flattening is needed and where.
- Test for moisture on a slab. One of the standard tests, with the reading recorded.
- Note anything the floor plan affects. Door heights, thresholds, transition strips, and how the new floor will meet adjacent rooms.
- Put prep in writing. Flattening, moisture mitigation, and removal of existing material each appear as line items, or the estimate says explicitly that none is required.
- Set the schedule at the estimate. Installation is a booked job – the estimate visit is where the install day is scheduled. Nobody can honestly promise a fixed install date before they’ve seen the subfloor.
If a quote arrives without those items spelled out, ask for them. The estimate should also confirm that we carry the liability for what we install over – which is why we don’t quote floors without seeing what’s underneath. That check protects you more than it protects us.
Matching the Subfloor to the Floor You Want
Here’s where the subfloor conversation pays off: once you know what your subfloor is and what it needs, you can match it to the right product with confidence. Some pairings work better than others, and the answer often surprises homeowners.
- Concrete slab, tight tolerance, low moisture. Rigid-core luxury vinyl floats beautifully here – COREtec and LifeProof are two lines we carry for households that live hard on their floors, and both are built for that kind of install. Mannington and Karndean bring a more design-forward option for the same category. If you want tile, tile flooring installation over a properly flattened and prepped slab is a long-term favorite for bathrooms, kitchens, and entryways, and Daltile is in the lineup for that work.
- Concrete slab, higher moisture reading. Mitigate first, then match the product to the mitigated surface. Some LVP products have more flexibility here; others don’t. The product instructions decide.
- Wood-based subfloor. Solid hardwood becomes a real option if the joists are sound. If they’re not, floating engineered or rigid-core products may be safer. If you already have hardwood underfoot that’s worn rather than failing, restoring it – we offer in-house refinishing – is often the better route than installing over it.
- Any subfloor, severely out of tolerance. Flatten first, then install whatever the flattened surface allows.
- Carpet. The most flexible. carpet installation tolerates subfloor imperfections that would trip up LVP or tile, though the surface still has to be clean and sound.
The best floor for your home is the one your subfloor supports. That’s not a sales line – it’s the rule the products themselves require. Whether you’re looking at a nine-brand lineup or a single choice, the conversation starts with what’s under it. The brands we carry – Shaw, Mohawk, COREtec, Pergo, LifeProof, Mannington, Armstrong, Daltile, and Karndean – cover every major category, so there’s usually something that fits the subfloor you’ve got, not just the one you wish you had.
Common Mistakes to Avoid
- Skipping the subfloor check entirely. Buying the floor before anyone has looked underfoot is the single most common misstep. The product should be chosen after the subfloor is understood, not before. In Spring Valley, where slab construction is the norm, this is the mistake we see most often.
- Treating flatness and level as the same thing. A floor can be level and still be out of tolerance. A straightedge across the room tells the real story. Nobody should be quoting flatness work without measuring it.
- Ignoring moisture testing on a concrete slab. “It looks dry” is not a test. Vapor moves through concrete continuously, and the reading determines what barrier or product you need. Skipping it is how floors cup and lift later.
- Leaving prep out of the estimate. A quote that doesn’t mention flattening, moisture mitigation, or removal of old flooring is likely incomplete. Ask for those items to be listed, or explicitly ruled out, before you commit.
- Assuming existing tile or old adhesive can just stay. Sometimes it can, sometimes it can’t. It depends on adhesion, height, and what’s going on top. Ask, don’t assume.
- Forgetting door heights and thresholds. New flooring plus prep can add real height to a floor. Doors and transitions have to be checked before install day, not after.
- Ordering the floor before the install day is set. Subfloor prep changes how long the job takes and how the schedule works. Book the install at the estimate, after the subfloor has been seen, so the timing is real.
See the difference
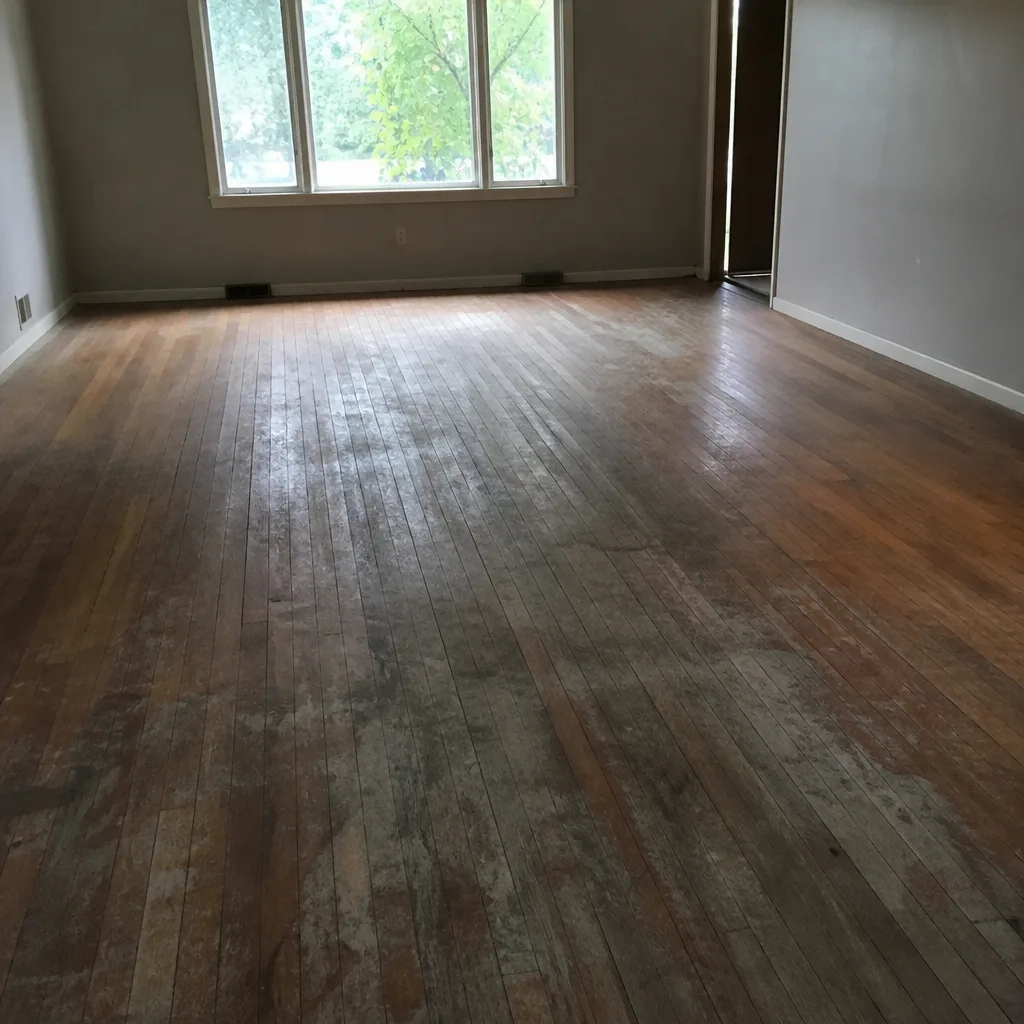 Before
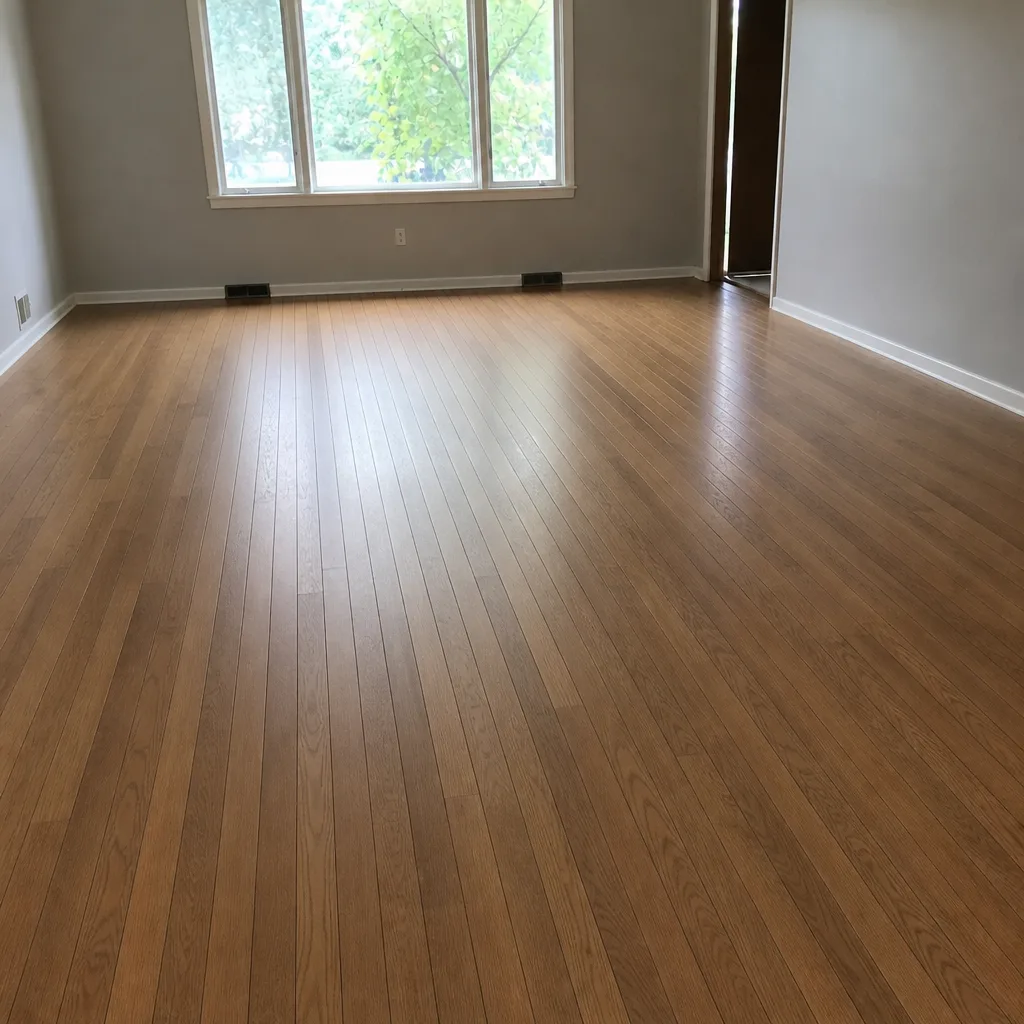 After
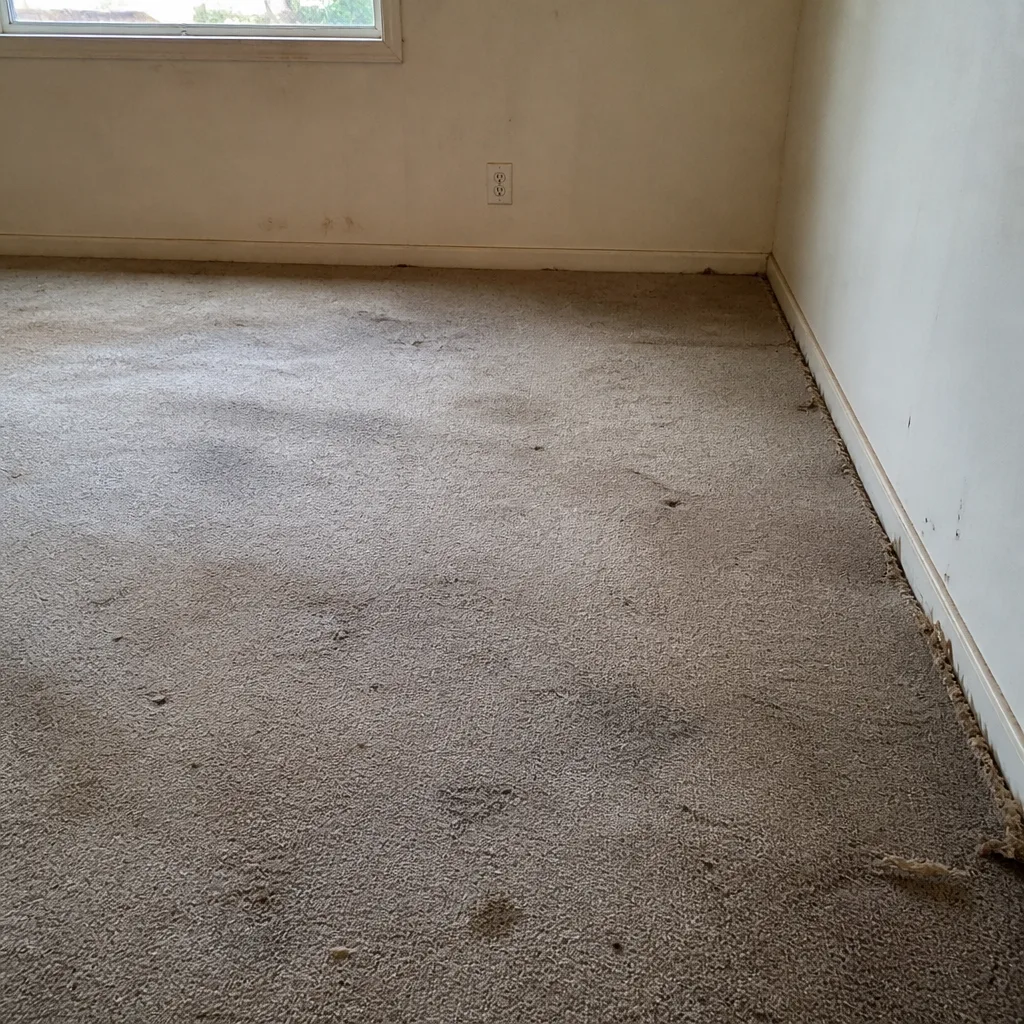 Before
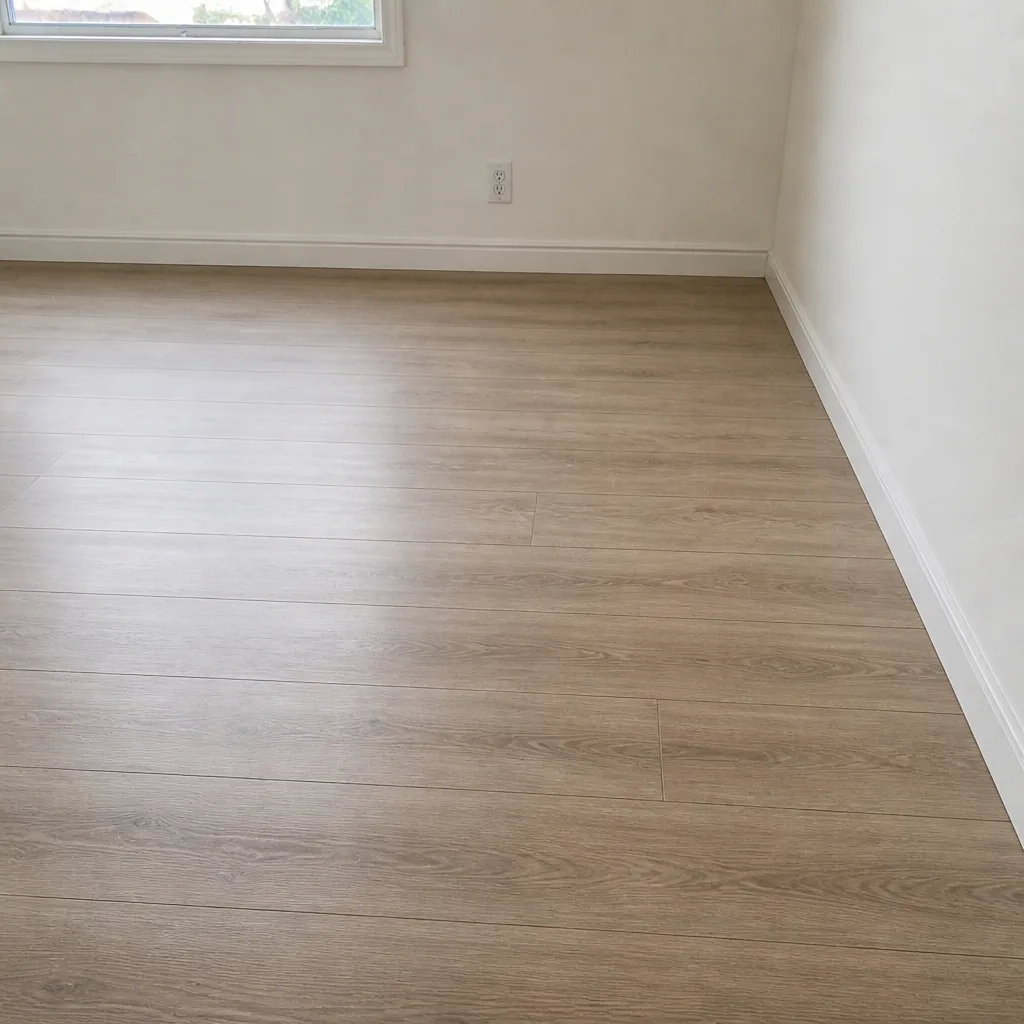 After
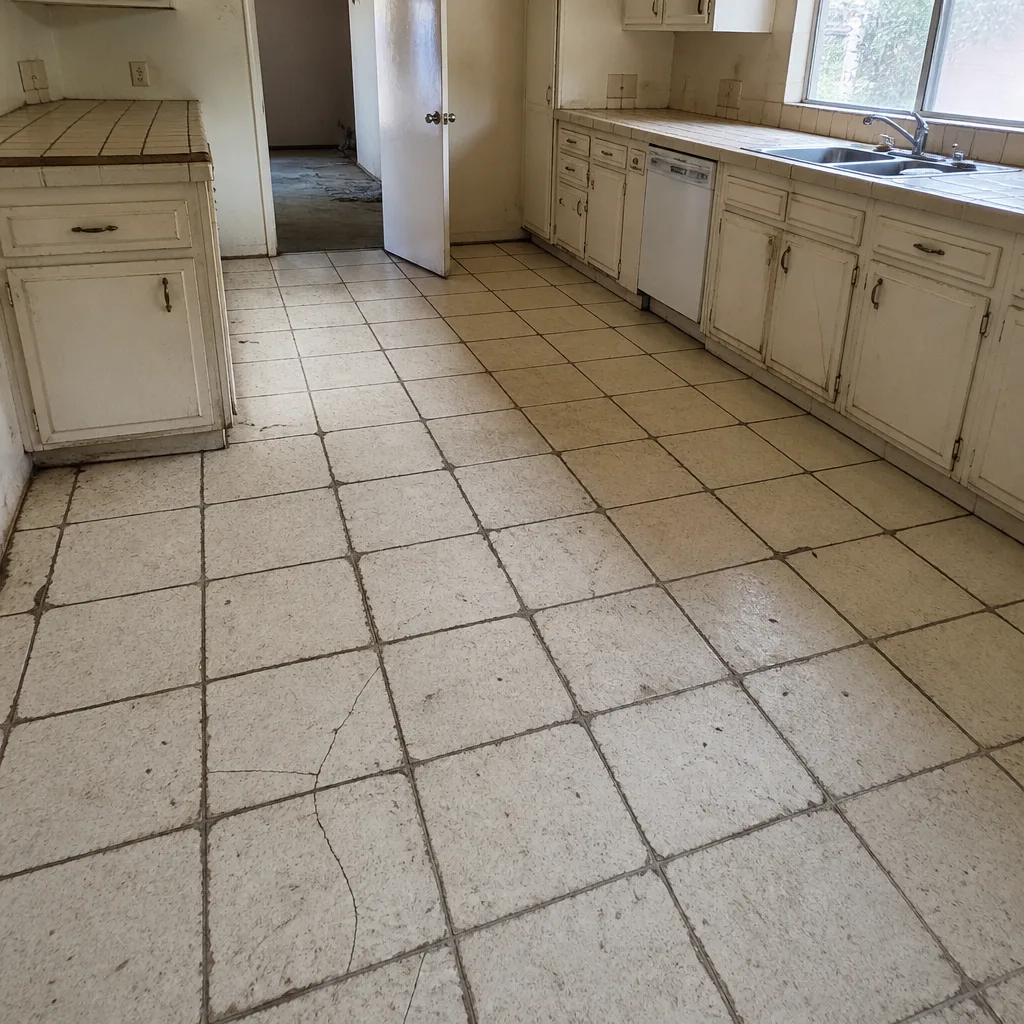 Before
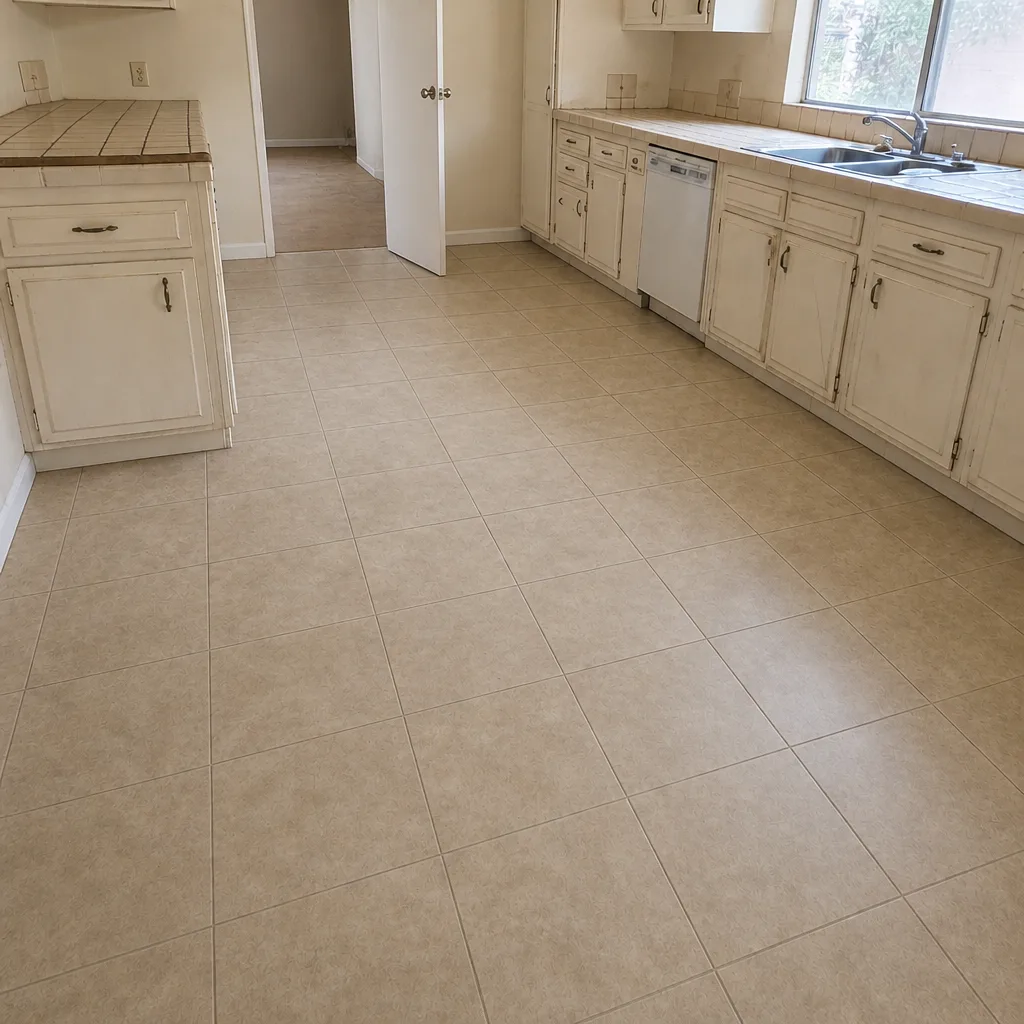 After
When to Call a Professional
Some subfloor conditions are obvious – a wavy slab, an old tile floor you want gone, visible adhesive residue. Others hide. If you’re unsure about moisture, flatness, or what’s under the existing floor, that’s the point to bring someone in. Same if the floor you want is a rigid or floating product, where tolerance and moisture matter most. A trained eye will spot a sagging panel, a high spot a straightedge misses, or a moisture reading that changes the whole plan. Spring Valley Floors offers free estimates in Spring Valley – call (833) 734-5027. Our technicians have up to 8 years of experience and can walk you through what your subfloor needs before you commit to any product. We answer 24/7. Fast dispatch from 7am to 7pm, Sunday through Friday.
Frequently Asked Questions
A subfloor is the structural surface beneath your finished flooring – either a concrete slab or wood panels over joists. It matters because every flooring product has requirements for how flat and dry that surface must be, and most floor failures trace back to the subfloor rather than the flooring. If you want the short version: what’s under the floor decides how the floor performs. Call (833) 734-5027 for an exact quote – estimates are free.
Knock on the surface near an edge or a vent opening. A solid, dull thud usually means concrete; a hollow or resonant sound usually means wood over joists. Looking under a vent grate or a stair opening will settle it. If you’re still unsure, any estimate visit should identify it in the first five minutes. Call (833) 734-5027 to schedule a free estimate.
Flatness tolerance is how much height variation a subfloor can have across a given distance and still be acceptable for a specific flooring product. The 3/16-inch-per-10-foot figure is the standard most products reference because it’s the point at which floating and rigid floors start to fail – planks rock, end joints open, and tile cracks. It can only be checked with a straightedge or laser on site. Call (833) 734-5027 for a free estimate that includes that check.
Yes, on any concrete slab, before any floor goes down. Concrete is porous and moisture moves through it from below in the form of vapor regardless of how dry it feels to the touch. The standard tests are calcium chloride and in-situ relative humidity probes, and the reading determines what barrier or product you need. Spring Valley’s dry valley climate doesn’t change the need – the moisture comes from the ground, not the air. Call (833) 734-5027 for an exact quote – estimates are free.
It depends on what the slab needs. Self-leveling compound, grinding a high spot, moisture mitigation, and removal of old tile or adhesive are each priced by square footage and depth, so no honest number exists without seeing the floor. What we can tell you is that it belongs in the original written estimate, not as an add-on. We give a free in-home measure and a written estimate per job. Call (833) 734-5027 to book yours.
Luxury vinyl plank (COREtec, LifeProof, Mannington, and Karndean are all in the lineup), tile, carpet, and engineered hardwood can all go over a properly prepped and tested concrete slab. Solid hardwood usually can’t, because it needs to be fastened to a wood subfloor. The deciding factors are the slab’s flatness after prep and its moisture reading. Call (833) 734-5027 to talk through what fits your slab.
The Bottom Line
The floor you see at the end of the job is only as good as the surface you can’t see. Concrete and wood subfloors ask different things of you, flatness tolerance decides which products are realistic, and moisture testing on a slab is not something to skip. Self-leveling, grinding, and removal of old adhesive should all be in the written estimate – not revealed later. If you take one thing from this guide, make it this: book the estimate before you buy the floor, and make sure the estimate covers the subfloor. Your floor, your call, but the call is easier when you know what’s underneath. Call (833) 734-5027 for a free estimate.
Written by the team at Spring Valley Floors.